


Gary Burton
@theofficialgrb.bsky.social
Contributor to the Professional Painter & Decorator magazine. Tips & advice to the best of my knowledge. https://instagram.com/grb_interiors?igshid=YmMyMTA2M2Y=
This is the second phase. Sand over with 120g paper and checked to ensure it’s a neat square finish. Then a final fill of imperfections.
November 25, 2025 at 7:35 PM
This is the second phase. Sand over with 120g paper and checked to ensure it’s a neat square finish. Then a final fill of imperfections.
My client opted for a smooth finish, with no grain showing, to match the MDF units that I’m decorating in the same room. This is the first phase of the process.
November 25, 2025 at 7:34 PM
My client opted for a smooth finish, with no grain showing, to match the MDF units that I’m decorating in the same room. This is the first phase of the process.
It’s essential to seal raw MDF edges when painting doors/cabinet doors/media units because failing to do so will result in the finish feeling like sandpaper. The paint will continue to be sucked into the raw edge. Here I’m using Prestonette filler. It spreads like butter & sands down with ease.
November 24, 2025 at 4:48 PM
It’s essential to seal raw MDF edges when painting doors/cabinet doors/media units because failing to do so will result in the finish feeling like sandpaper. The paint will continue to be sucked into the raw edge. Here I’m using Prestonette filler. It spreads like butter & sands down with ease.

A section that I’ve repaired and redecorated. I’ll be returning to the project to finish off after Christmas.


November 21, 2025 at 7:26 PM
A section that I’ve repaired and redecorated. I’ll be returning to the project to finish off after Christmas.
Today I replaced putty on two internal doors. It might well be out of season to mention as most puty usually external that is replaced - but save this for when you might need to buy some. It’s superb.
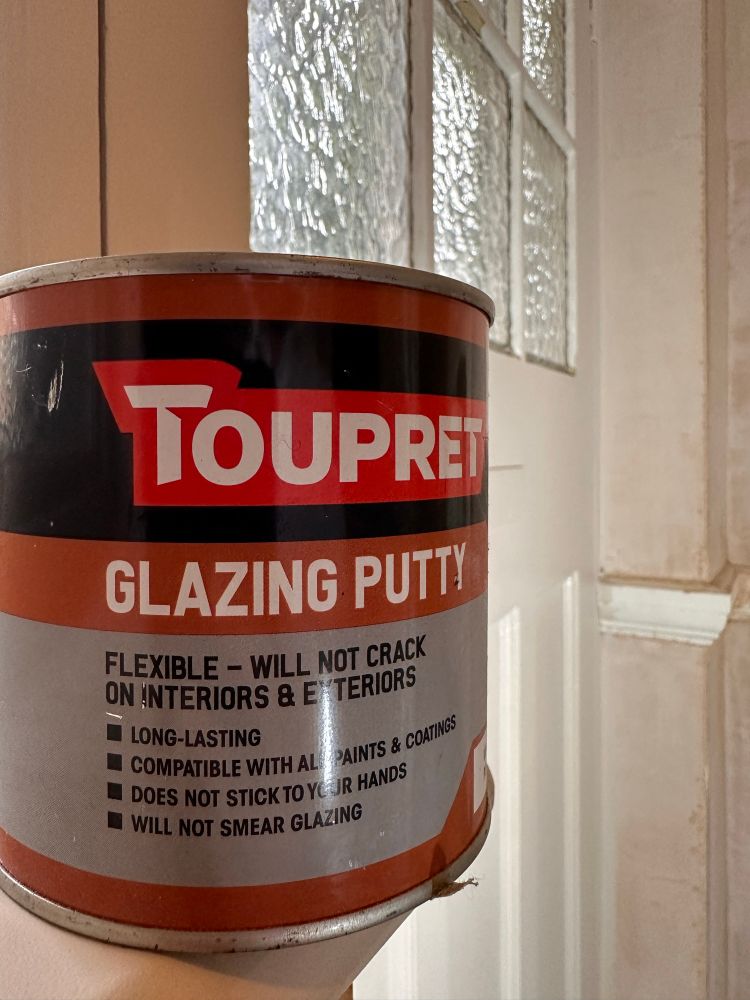
November 20, 2025 at 6:19 PM
Today I replaced putty on two internal doors. It might well be out of season to mention as most puty usually external that is replaced - but save this for when you might need to buy some. It’s superb.
Work in progress. Colour: Farrow & Ball ‘Stirabout’ No.300 - mixed in my absolute favourite, Benjamin Moore Scuff-X. Beady eyes will notice I polished back the lock latch.


November 20, 2025 at 6:13 PM
Work in progress. Colour: Farrow & Ball ‘Stirabout’ No.300 - mixed in my absolute favourite, Benjamin Moore Scuff-X. Beady eyes will notice I polished back the lock latch.
Here I’m repairing this plaster skirting profile. A void that is repaired with Rock Solid filler. This is the first phase of the repair. The objective is to build the profile to match the existing - which will be perfected on the next stage.
November 14, 2025 at 8:00 PM
Here I’m repairing this plaster skirting profile. A void that is repaired with Rock Solid filler. This is the first phase of the repair. The objective is to build the profile to match the existing - which will be perfected on the next stage.
If you compare both images you’ll see the curved profile that had a large gap has now been recreated. I used Toupret Rock Solid to do this - using a wet paintbrush to sculpt once I’d packed it into the void.


November 13, 2025 at 6:00 PM
If you compare both images you’ll see the curved profile that had a large gap has now been recreated. I used Toupret Rock Solid to do this - using a wet paintbrush to sculpt once I’d packed it into the void.
As previously mentioned - the SanderCard is superb. I’ve used it in many different situations. Here I modified one by cutting it in half to access tight areas, as shown.
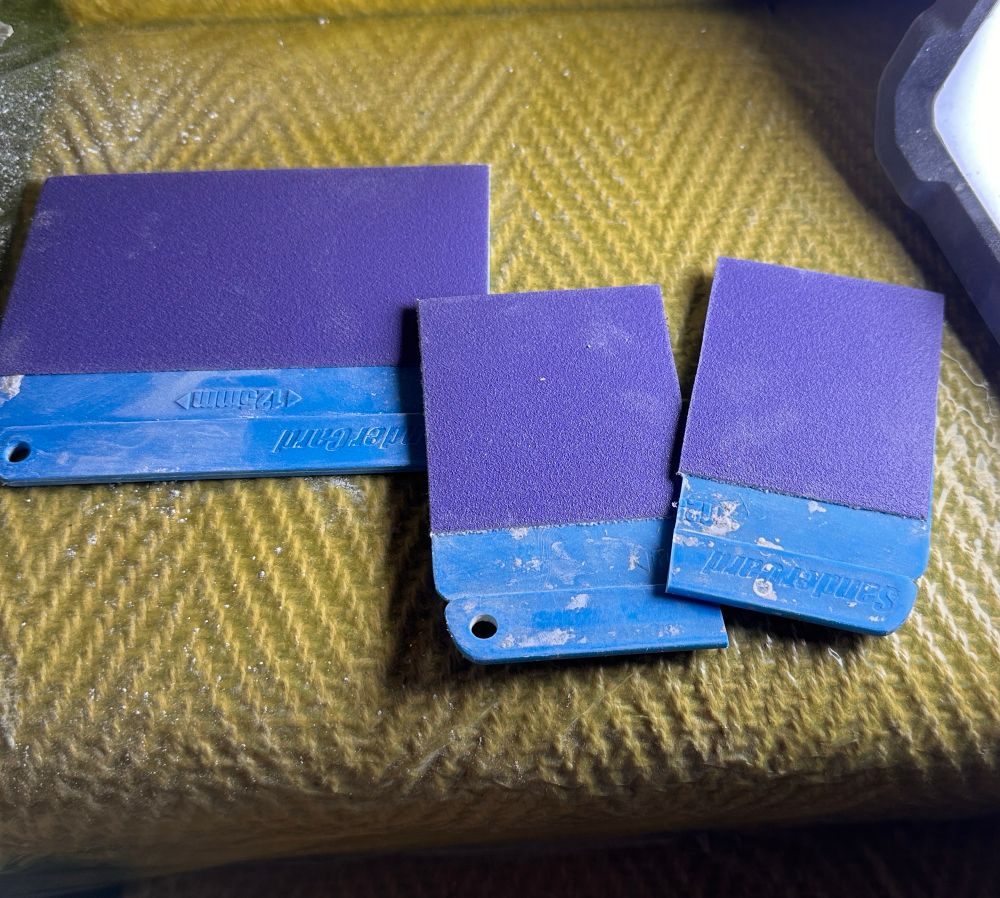

November 12, 2025 at 8:24 PM
As previously mentioned - the SanderCard is superb. I’ve used it in many different situations. Here I modified one by cutting it in half to access tight areas, as shown.


This level of woodwork prep is time-consuming. But when all is said and done it is beyond worth it. I’ll post more individual stages if that’s helpful to anyone.


November 11, 2025 at 6:37 PM
This level of woodwork prep is time-consuming. But when all is said and done it is beyond worth it. I’ll post more individual stages if that’s helpful to anyone.
This is the before & after. Freehand repair. More work to do to complete this.


November 10, 2025 at 5:50 PM
This is the before & after. Freehand repair. More work to do to complete this.
Wall repair:
The secret here is to let the filler slightly go off, therefore making it more easier to create that sharp line & resist gravity by not sagging - being that it’s a repair with no support underneath. I used Tourpret Murex for its incredible strength. Finer fill to follow.
The secret here is to let the filler slightly go off, therefore making it more easier to create that sharp line & resist gravity by not sagging - being that it’s a repair with no support underneath. I used Tourpret Murex for its incredible strength. Finer fill to follow.
November 10, 2025 at 5:48 PM
Wall repair:
The secret here is to let the filler slightly go off, therefore making it more easier to create that sharp line & resist gravity by not sagging - being that it’s a repair with no support underneath. I used Tourpret Murex for its incredible strength. Finer fill to follow.
The secret here is to let the filler slightly go off, therefore making it more easier to create that sharp line & resist gravity by not sagging - being that it’s a repair with no support underneath. I used Tourpret Murex for its incredible strength. Finer fill to follow.
Another excellent piece of kit. This ‘Sandercard’ makes prep easier - the Velcro backing keeps the sandpaper in place & rigid. Once you use this you won’t fold sandpaper again.

November 7, 2025 at 6:34 PM
Another excellent piece of kit. This ‘Sandercard’ makes prep easier - the Velcro backing keeps the sandpaper in place & rigid. Once you use this you won’t fold sandpaper again.
Sanding profile blocks are a simple concept, but very effective. The sandpaper wraps around the block, enabling you to smooth the surface without altering the shape of the contour. These are available in a pack with a variety of profiles.

November 7, 2025 at 6:27 PM
Sanding profile blocks are a simple concept, but very effective. The sandpaper wraps around the block, enabling you to smooth the surface without altering the shape of the contour. These are available in a pack with a variety of profiles.
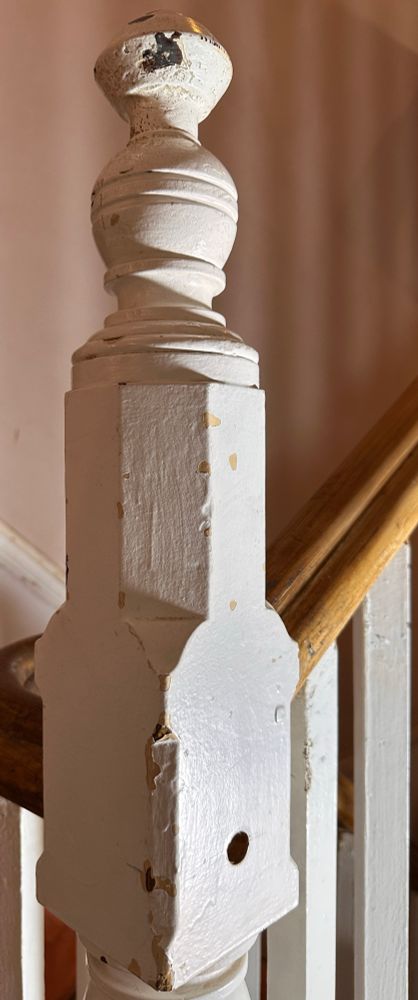
Another post stripped back. This grain will be left as it is. Still much more work to do on the stairs and spindles - which will be painted.

November 6, 2025 at 9:01 PM
Another post stripped back. This grain will be left as it is. Still much more work to do on the stairs and spindles - which will be painted.
Before and after.


November 6, 2025 at 1:00 PM
Before and after.
What a beautiful grain I’ve exposed today. The sharp details are back once again. The Victorians sure did detail well.


November 6, 2025 at 12:47 PM
What a beautiful grain I’ve exposed today. The sharp details are back once again. The Victorians sure did detail well.
Today I worked further to prepare more stairs and spindles. 70 spindles to prep in total. Repetition is how mastery is achieved.


November 5, 2025 at 6:21 PM
Today I worked further to prepare more stairs and spindles. 70 spindles to prep in total. Repetition is how mastery is achieved.
And this is a part of the work I’ve completed too - removing all of the paint to reveal the details of this ceiling rose and corbels.

November 5, 2025 at 6:18 PM
And this is a part of the work I’ve completed too - removing all of the paint to reveal the details of this ceiling rose and corbels.
For anyone intrigued.


November 5, 2025 at 8:40 AM
For anyone intrigued.
Panel fully sanded back. This will remain as it is, in its original state. This is from around 1880. Beautiful craftsmanship.

November 4, 2025 at 8:42 PM
Panel fully sanded back. This will remain as it is, in its original state. This is from around 1880. Beautiful craftsmanship.
Chiseled out channels on the joints to then fill with resin, as shown.

November 4, 2025 at 8:39 PM
Chiseled out channels on the joints to then fill with resin, as shown.
Today I worked on repairing the stairs. The resin I used in made by Repair Care. Regular wood filler would crack and fair in a short period of time.


November 4, 2025 at 8:38 PM
Today I worked on repairing the stairs. The resin I used in made by Repair Care. Regular wood filler would crack and fair in a short period of time.