


⛓Bound Dev Boi 🔞💦
@bounddev.bsky.social
super secret AD🔞🤫 | 3D artist/Gamedev | BDSM, Latex, CBT, Watersports and much more c: | My assets: https://jinxxy.com/BoundDev 🇳🇱 Other stuff: https://linktr.ee/bounddev
Going to the clubbbbb Rate my outfit :3 ♥️


November 8, 2025 at 10:36 PM
Going to the clubbbbb Rate my outfit :3 ♥️
Commission for @basalclub648.bsky.social


November 8, 2025 at 2:29 PM
Commission for @basalclub648.bsky.social
Self indulgent render :3
New fleshlight product!
Due to the surplus of prisoners in storage we've decided to repurpose them as cheap fleshlights!
New fleshlight product!
Due to the surplus of prisoners in storage we've decided to repurpose them as cheap fleshlights!


October 16, 2025 at 12:02 AM
Self indulgent render :3
New fleshlight product!
Due to the surplus of prisoners in storage we've decided to repurpose them as cheap fleshlights!
New fleshlight product!
Due to the surplus of prisoners in storage we've decided to repurpose them as cheap fleshlights!
Get a scene you really like and try and replicate it! try and utilize shadows and rimlights to add detail
Feel free to suggest tutorial subjects! I'm interested in what ya'll would like to learn!
Feel free to suggest tutorial subjects! I'm interested in what ya'll would like to learn!


October 15, 2025 at 6:42 PM
Get a scene you really like and try and replicate it! try and utilize shadows and rimlights to add detail
Feel free to suggest tutorial subjects! I'm interested in what ya'll would like to learn!
Feel free to suggest tutorial subjects! I'm interested in what ya'll would like to learn!
i add some vignette to add additional interest on the mainly plain areas of the image and keep the focus on the character.
The vignette is just a blend texture set to spherical
The vignette is just a blend texture set to spherical


October 15, 2025 at 6:42 PM
i add some vignette to add additional interest on the mainly plain areas of the image and keep the focus on the character.
The vignette is just a blend texture set to spherical
The vignette is just a blend texture set to spherical
Next i add a glare with super low threshold to make a wet, blurry lens effect.
the contrast on this scene is very low to give it a overcast and soft feeling.
the contrast on this scene is very low to give it a overcast and soft feeling.

October 15, 2025 at 6:42 PM
Next i add a glare with super low threshold to make a wet, blurry lens effect.
the contrast on this scene is very low to give it a overcast and soft feeling.
the contrast on this scene is very low to give it a overcast and soft feeling.
First thing i do after setting up the HDRI is to adjust color management. not much to say here just messing with values to make it more blueish, wet and dark feeling.

October 15, 2025 at 6:42 PM
First thing i do after setting up the HDRI is to adjust color management. not much to say here just messing with values to make it more blueish, wet and dark feeling.
The second render is much simpler but i use the compositor way more and utilize HDRI's for lighting.

October 15, 2025 at 6:42 PM
The second render is much simpler but i use the compositor way more and utilize HDRI's for lighting.
Finally i go into the compositor and make my final adjustments, depending on the mood of the scene i change the saturation and brightness of the of the overall scene. comfy homey tend to have lower contrast then more intense situations. it depends on what you think might fit best

October 15, 2025 at 6:42 PM
Finally i go into the compositor and make my final adjustments, depending on the mood of the scene i change the saturation and brightness of the of the overall scene. comfy homey tend to have lower contrast then more intense situations. it depends on what you think might fit best
I like to make most of my adjustments with the color management tab. I use the AgX color space and i mess around with the options until i get something that pleases me. there isn't really any big tips i can give just keep adjusting stuff to try and get it closer to what you want.

October 15, 2025 at 6:42 PM
I like to make most of my adjustments with the color management tab. I use the AgX color space and i mess around with the options until i get something that pleases me. there isn't really any big tips i can give just keep adjusting stuff to try and get it closer to what you want.
Next is rimlights!
These are lights that are directly behind the subject and illuminate the edges of it brightly, adding more definition to the silhouette and making your focus of the scene pop out of the background. I tend to really overuse this tbh but it looks good soooooo :3
These are lights that are directly behind the subject and illuminate the edges of it brightly, adding more definition to the silhouette and making your focus of the scene pop out of the background. I tend to really overuse this tbh but it looks good soooooo :3

October 15, 2025 at 6:42 PM
Next is rimlights!
These are lights that are directly behind the subject and illuminate the edges of it brightly, adding more definition to the silhouette and making your focus of the scene pop out of the background. I tend to really overuse this tbh but it looks good soooooo :3
These are lights that are directly behind the subject and illuminate the edges of it brightly, adding more definition to the silhouette and making your focus of the scene pop out of the background. I tend to really overuse this tbh but it looks good soooooo :3
Next i fill in the dark spots with area lights. always keep the value of your shot in mind. you want to minimize pure black and pure white pixels so no information is lost.


October 15, 2025 at 6:42 PM
Next i fill in the dark spots with area lights. always keep the value of your shot in mind. you want to minimize pure black and pure white pixels so no information is lost.
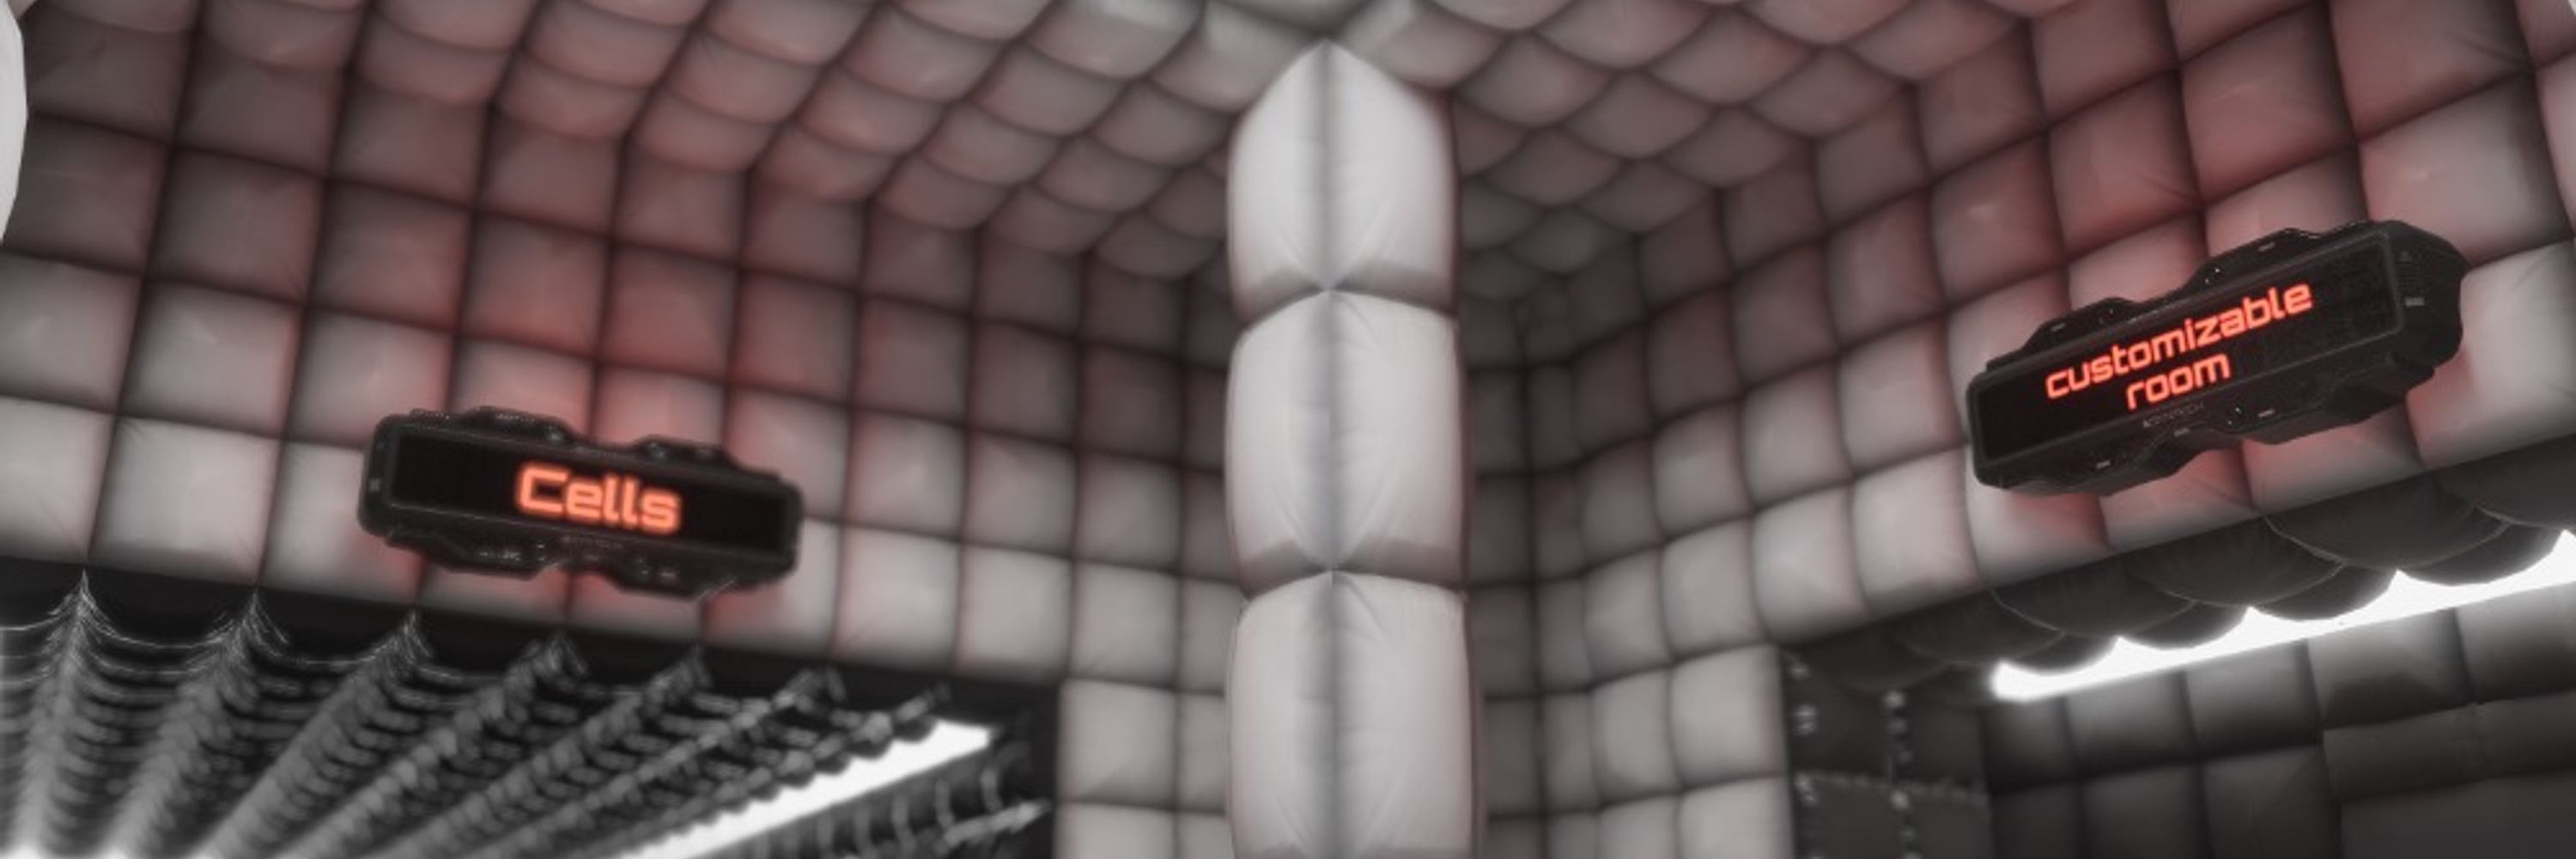
First i block out the simple lights. using the bars on a cell for additional shadow details.
always keep the lights at an angle from the camera. for this i put the main blue light at a 90 angle from the camera and the orange light behind the object.
always keep the lights at an angle from the camera. for this i put the main blue light at a 90 angle from the camera and the orange light behind the object.

October 15, 2025 at 6:42 PM
First i block out the simple lights. using the bars on a cell for additional shadow details.
always keep the lights at an angle from the camera. for this i put the main blue light at a 90 angle from the camera and the orange light behind the object.
always keep the lights at an angle from the camera. for this i put the main blue light at a 90 angle from the camera and the orange light behind the object.
The first thing I do is get the general vibe, emotion and colors of the scene. for this one i wanted a dark prison/dungeon kinda thing. a lot of cold blues, contrasting with more warmer orange.
your color choices matter A LOT when doing lighting. learning color theory is crucial
your color choices matter A LOT when doing lighting. learning color theory is crucial

October 15, 2025 at 6:42 PM
The first thing I do is get the general vibe, emotion and colors of the scene. for this one i wanted a dark prison/dungeon kinda thing. a lot of cold blues, contrasting with more warmer orange.
your color choices matter A LOT when doing lighting. learning color theory is crucial
your color choices matter A LOT when doing lighting. learning color theory is crucial
TUTORIAL: My process on lighting and color.
This tutorial won't be as technical and more explaining my general process.
This tutorial won't be as technical and more explaining my general process.

October 15, 2025 at 6:42 PM
TUTORIAL: My process on lighting and color.
This tutorial won't be as technical and more explaining my general process.
This tutorial won't be as technical and more explaining my general process.
This technique SHOULD work in unity as well if you export it as long as you import the normals instead of recalculating them.

October 14, 2025 at 10:40 AM
This technique SHOULD work in unity as well if you export it as long as you import the normals instead of recalculating them.
Now finally use a data transfer modifier with the vertex group you've created on the sphere and copy the normals from the hood. Best to use "Nearest Face Interpolated" to have the smoothest transition.


October 14, 2025 at 10:40 AM
Now finally use a data transfer modifier with the vertex group you've created on the sphere and copy the normals from the hood. Best to use "Nearest Face Interpolated" to have the smoothest transition.
Now to solve the weird hard shading where the sphere intersects the hood
create a new vertex group and draw along the seams of the sphere. smooth out the weights for a better result
create a new vertex group and draw along the seams of the sphere. smooth out the weights for a better result

October 14, 2025 at 10:40 AM
Now to solve the weird hard shading where the sphere intersects the hood
create a new vertex group and draw along the seams of the sphere. smooth out the weights for a better result
create a new vertex group and draw along the seams of the sphere. smooth out the weights for a better result
Next we'll have to make sure the ball uses the same material and UV coordinates of the hood so the roughness and color are the same as the hood.
The best way to do this is to use the project from view UV unwrapping method. then align the UVs of the ball with the mouth.
The best way to do this is to use the project from view UV unwrapping method. then align the UVs of the ball with the mouth.


October 14, 2025 at 10:40 AM
Next we'll have to make sure the ball uses the same material and UV coordinates of the hood so the roughness and color are the same as the hood.
The best way to do this is to use the project from view UV unwrapping method. then align the UVs of the ball with the mouth.
The best way to do this is to use the project from view UV unwrapping method. then align the UVs of the ball with the mouth.
Next we'll add a sphere and scale it into place, the higher the resolution of the sphere the better the effect works
It's best to think logically how the ball would fit in the mouth. keep in mind the nasal cavity and the jaw bone.
It's best to think logically how the ball would fit in the mouth. keep in mind the nasal cavity and the jaw bone.


October 14, 2025 at 10:40 AM
Next we'll add a sphere and scale it into place, the higher the resolution of the sphere the better the effect works
It's best to think logically how the ball would fit in the mouth. keep in mind the nasal cavity and the jaw bone.
It's best to think logically how the ball would fit in the mouth. keep in mind the nasal cavity and the jaw bone.
First you'll need to get your hood to be in a kind of "mouth open" position. Some hood assets already have it but most you'll have to use the grab tool in sculpt mode to create your own blendshape for it.

October 14, 2025 at 10:40 AM
First you'll need to get your hood to be in a kind of "mouth open" position. Some hood assets already have it but most you'll have to use the grab tool in sculpt mode to create your own blendshape for it.
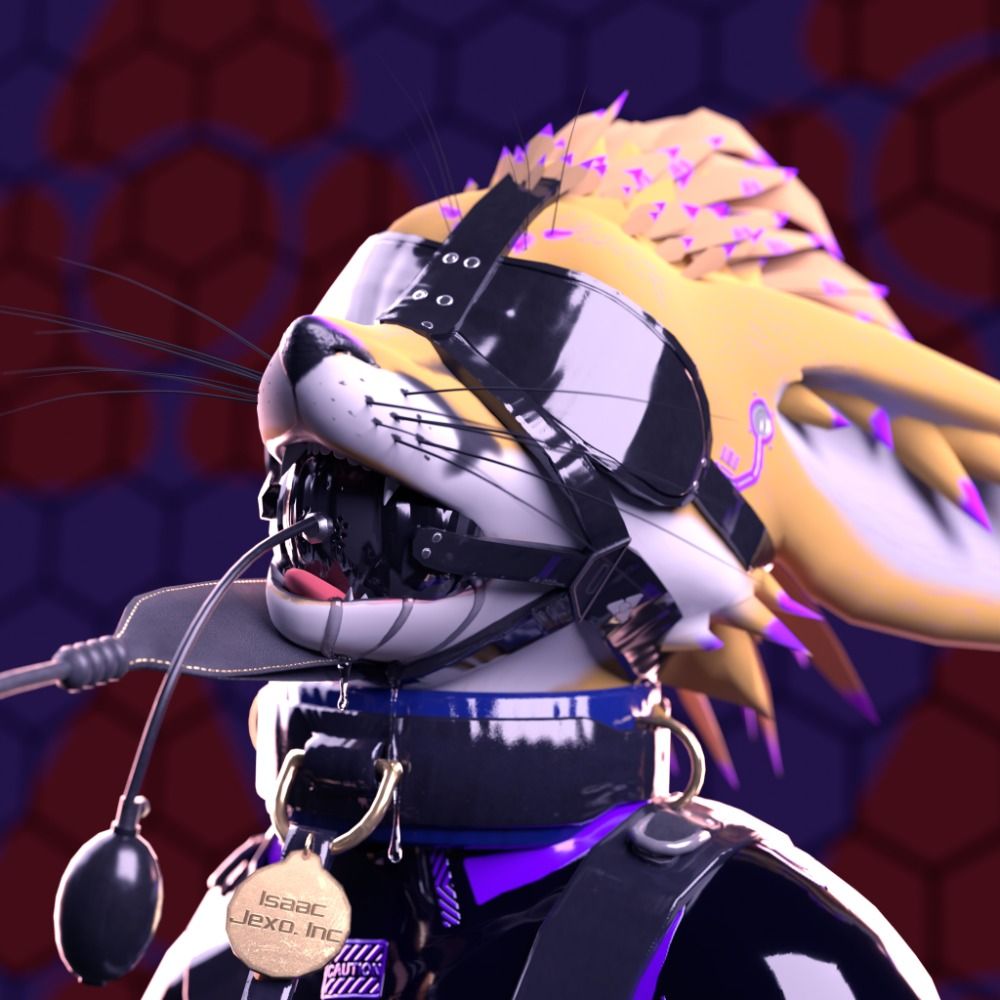
TUTORIAL: Inflatable gag under hood
I was just messing around thinking about this specific look and i found a method that's actually really easy to achieve without any type of modeling. so let's get started!
I was just messing around thinking about this specific look and i found a method that's actually really easy to achieve without any type of modeling. so let's get started!

October 14, 2025 at 10:40 AM
TUTORIAL: Inflatable gag under hood
I was just messing around thinking about this specific look and i found a method that's actually really easy to achieve without any type of modeling. so let's get started!
I was just messing around thinking about this specific look and i found a method that's actually really easy to achieve without any type of modeling. so let's get started!
HYPNOGEN V0.2 IS OUT NOW!!! 🚨
In this release I've added different spiral shapes, an audio tone creator, post processing effects, text effect improvements, and much more!
Check out the update on Itch!
#hypno #hypnosis #hypnosiskink
In this release I've added different spiral shapes, an audio tone creator, post processing effects, text effect improvements, and much more!
Check out the update on Itch!
#hypno #hypnosis #hypnosiskink

October 10, 2025 at 10:28 AM
HYPNOGEN V0.2 IS OUT NOW!!! 🚨
In this release I've added different spiral shapes, an audio tone creator, post processing effects, text effect improvements, and much more!
Check out the update on Itch!
#hypno #hypnosis #hypnosiskink
In this release I've added different spiral shapes, an audio tone creator, post processing effects, text effect improvements, and much more!
Check out the update on Itch!
#hypno #hypnosis #hypnosiskink
Lowering in c:
Can you imagine being abused and tortured for hours and then back into the hole you go for days to repeat it over all again with another client 😳♥️
the taste of piss and cum still in your mouth. your balls , dick and prostate shocked...
Can you imagine being abused and tortured for hours and then back into the hole you go for days to repeat it over all again with another client 😳♥️
the taste of piss and cum still in your mouth. your balls , dick and prostate shocked...


October 1, 2025 at 6:04 PM
Lowering in c:
Can you imagine being abused and tortured for hours and then back into the hole you go for days to repeat it over all again with another client 😳♥️
the taste of piss and cum still in your mouth. your balls , dick and prostate shocked...
Can you imagine being abused and tortured for hours and then back into the hole you go for days to repeat it over all again with another client 😳♥️
the taste of piss and cum still in your mouth. your balls , dick and prostate shocked...
Taking a month off to put myself in a company that'll rent me out to wealthy sadistic clients as a sex toy c:
Here's me inbetween clients, lowered into a storage hole in a slave storage warehouse. I'll be down there for a few days struggling ^^
Here's me inbetween clients, lowered into a storage hole in a slave storage warehouse. I'll be down there for a few days struggling ^^


October 1, 2025 at 6:04 PM
Taking a month off to put myself in a company that'll rent me out to wealthy sadistic clients as a sex toy c:
Here's me inbetween clients, lowered into a storage hole in a slave storage warehouse. I'll be down there for a few days struggling ^^
Here's me inbetween clients, lowered into a storage hole in a slave storage warehouse. I'll be down there for a few days struggling ^^