


BigLee
@biglee.bsky.social
Historical wargamer, miniatures painter, roleplayer, model maker, long-time blogger, YouTuber and miniature adventurer.


Donald Featherstone and the Birth of the Solo Wargamer #SoloWargaming

Donald Featherstone and the Birth of the Solo Wargamer #SoloWargaming
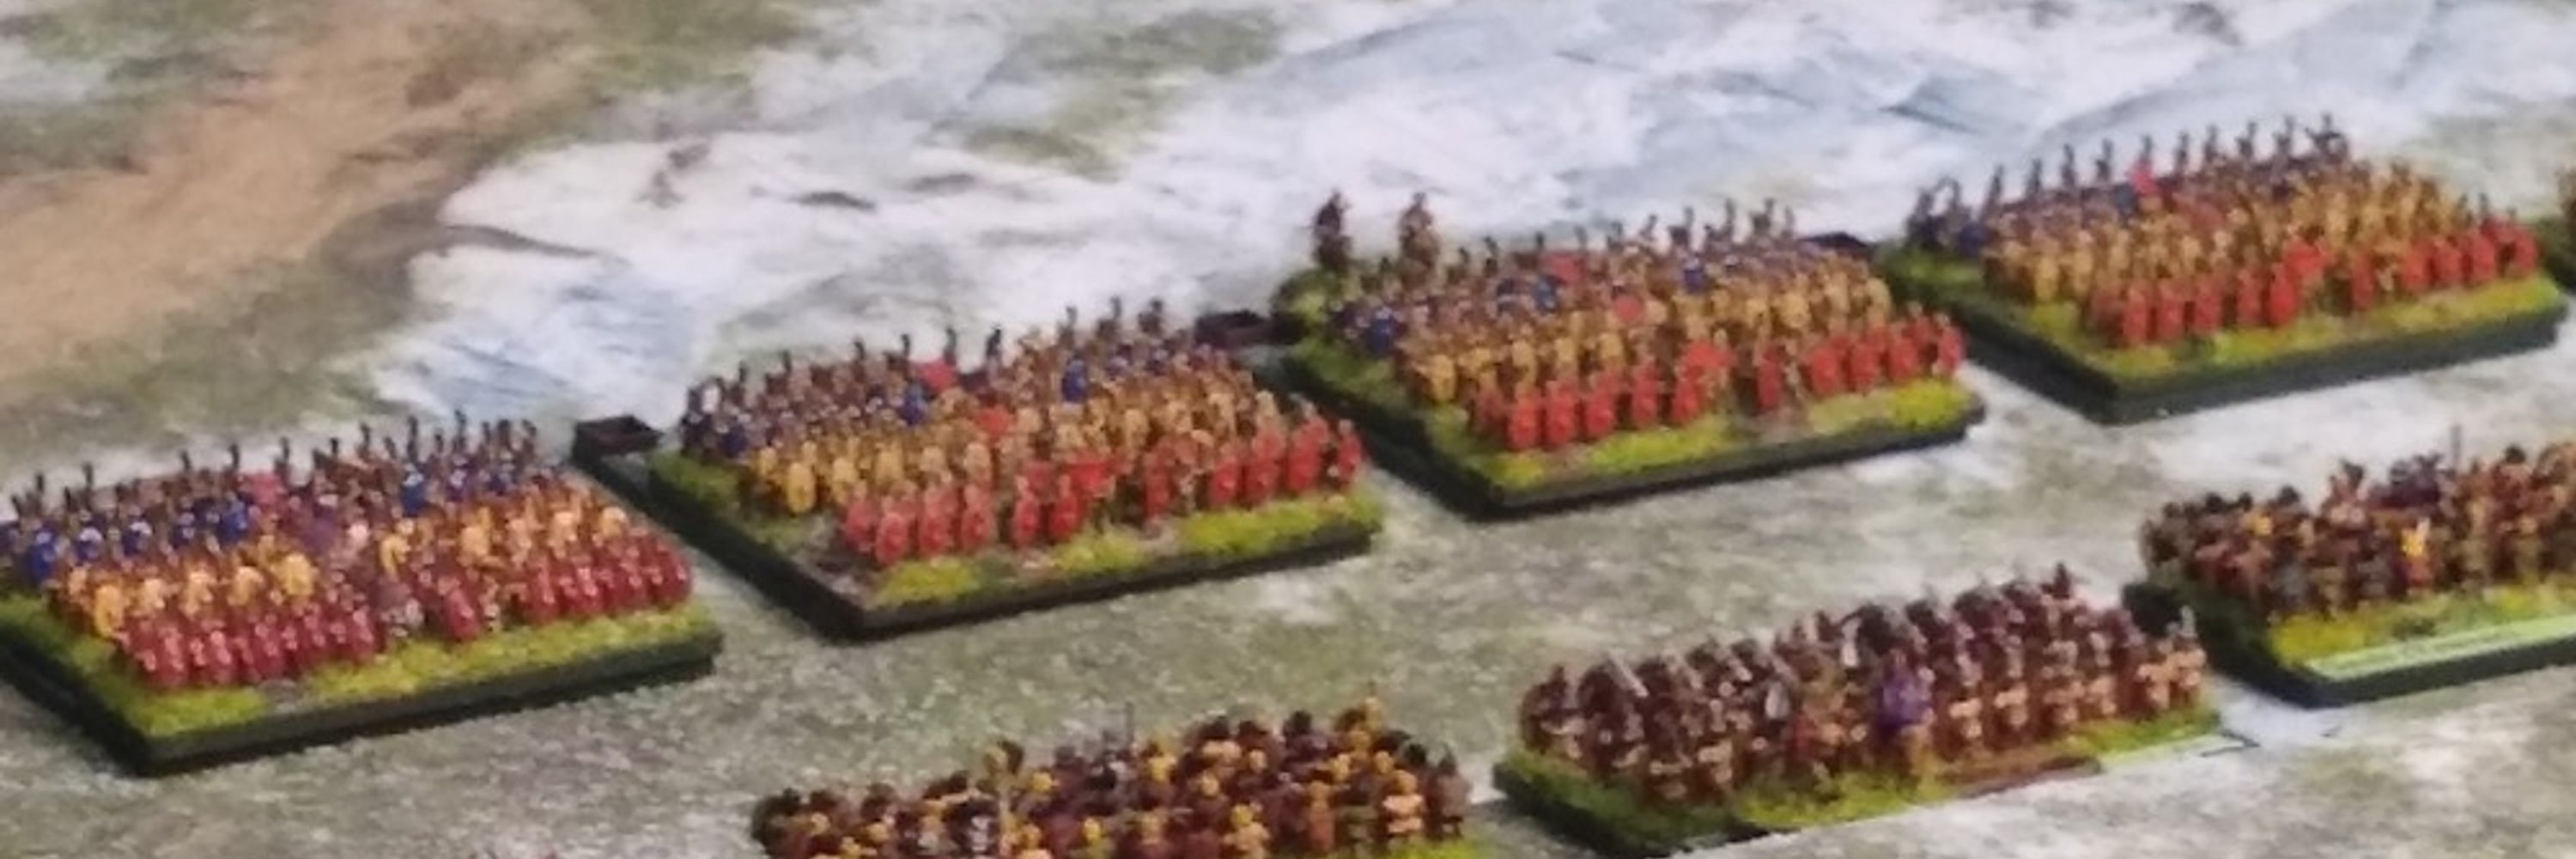
Donald Featherstone didn’t invent solo wargaming for convenience—he invented it to solve uncertainty. This video explores how his 1960s experiments laid the groundwork for modern solo rules, AI decks, and narrative tabletop systems used by wargamers today.
(Donald Featherstone, Solo Wargaming (London: Stanley Paul, 1973), esp. Chapters 1–3; Featherstone editorials in Wargames magazine, issues 1–20 (1962–1966))
#WargamingHistory #SoloWargaming #TabletopGames
www.youtube.com
January 21, 2026 at 6:07 PM
Donald Featherstone and the Birth of the Solo Wargamer #SoloWargaming

Battle Chronicle Teaser

Battle Chronicle Teaser
Something new and rather exciting is on the horizon...
Join this channel to get access to perks:
https://www.youtube.com/channel/UC-OyOZpU-R7PNBOFwP4mu3g/join
www.youtube.com
January 19, 2026 at 6:09 PM
Battle Chronicle Teaser

Are Free Review Products Ruining the Hobby?

Are Free Review Products Ruining the Hobby?
In this video, I tackle a topic that quietly sits underneath a huge amount of modern hobby content: free review products. Since starting this channel, I’ve been offered rulebooks, miniatures, tools, paints, and even 3D printers in exchange for “impartial” reviews. Some of those offers made sense, many didn’t, and most were politely declined. But it raises a bigger question for all of us in the tabletop and miniature painting hobby: does accepting free products automatically make someone a shill, and are those reviews less trustworthy than reviews of things we’ve paid for ourselves?
Join this channel to get access to perks:
https://www.youtube.com/channel/UC-OyOZpU-R7PNBOFwP4mu3g/join
www.youtube.com
January 18, 2026 at 12:03 PM
Are Free Review Products Ruining the Hobby?


Why I Still Blog #Wargaming #Blogging

Why I Still Blog #Wargaming #Blogging
Are wargaming blogs dying out — or just evolving? I reflect on 16 years of hobby blogging, YouTube, and how we share tabletop wargaming today.
#Wargaming #MiniaturePainting #TabletopGaming #HistoricalWargames
Join this channel to get access to perks:
https://www.youtube.com/channel/UC-OyOZpU-R7PNBOFwP4mu3g/join
www.youtube.com
January 11, 2026 at 6:23 PM
Why I Still Blog #Wargaming #Blogging


Why Painting More Minis Is the Ultimate Hobby Resolution

Why Painting More Minis Is the Ultimate Hobby Resolution
The same hobby resolutions… again? 🎲
Painting minis, playing more games, and keeping the hobby fun in 2026. A relaxed chat about realistic goals, motivation, and wargaming momentum.
#tabletopwargaming #minipainting #historicalwargaming #hobbygoals
www.youtube.com
January 9, 2026 at 6:08 PM
Why Painting More Minis Is the Ultimate Hobby Resolution


