


Model Maker Ville
@modelmakerville.bsky.social
A timeline building model kits, kit bashing, making things and other stuff.
So having finshed restoring the Britannia, i started cleaning up the rollingstock I have stored away in a box. Some of it was a bit broken.
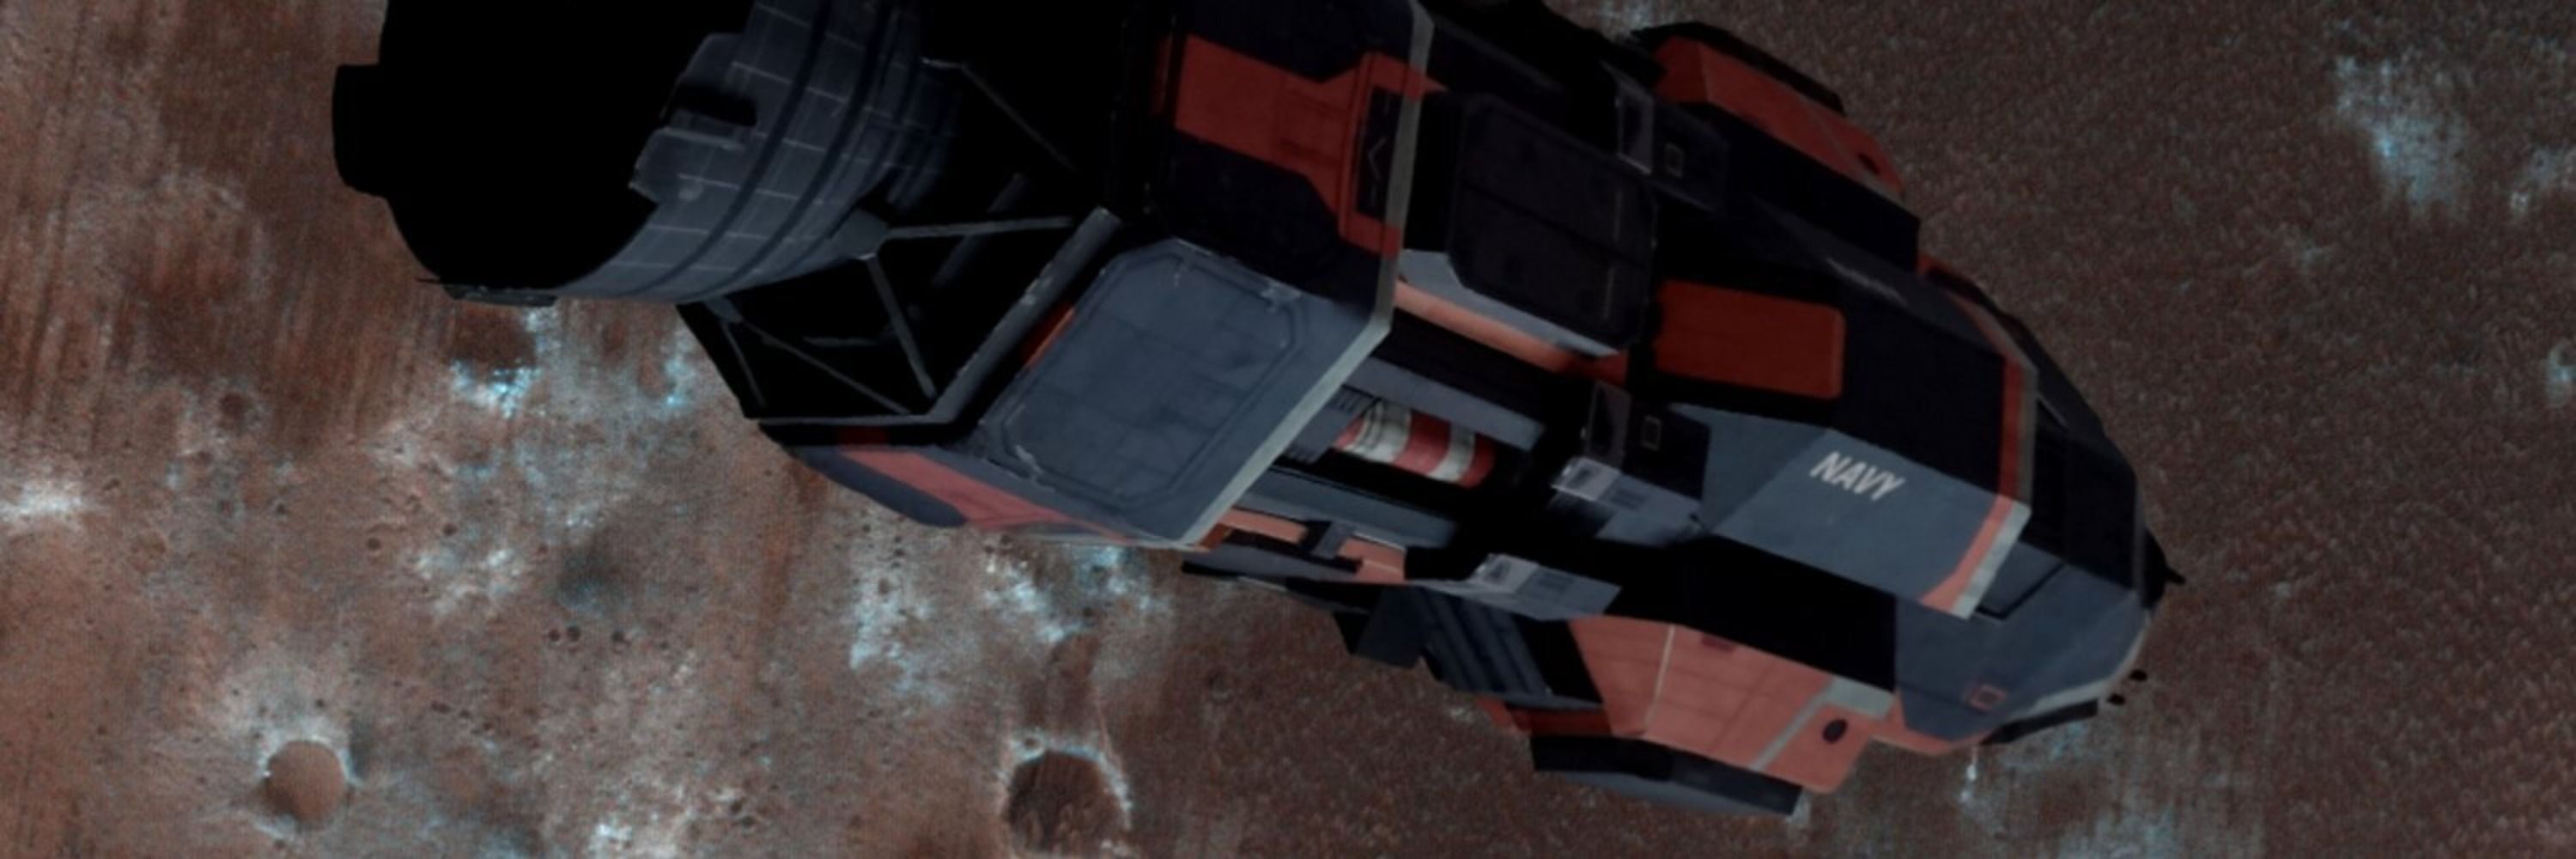
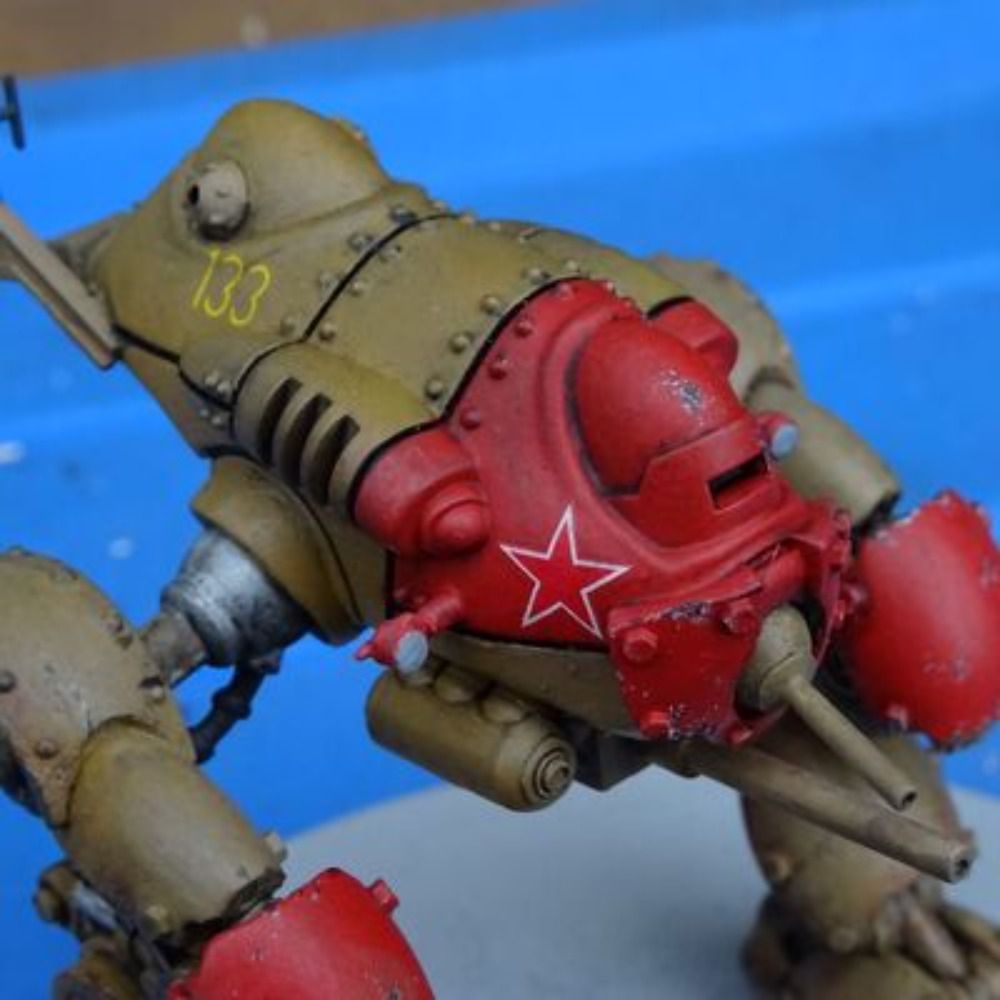
I have an idea for the next project:
I have an idea for the next project:

November 19, 2025 at 2:59 PM
So having finshed restoring the Britannia, i started cleaning up the rollingstock I have stored away in a box. Some of it was a bit broken.
I have an idea for the next project:
I have an idea for the next project:
Finished.
The 70000 Britannia is refurbished.
Cleaned, repaired, repainted, redecaled and working.
Approx 57 years old and looking brand new.
The 70000 Britannia is refurbished.
Cleaned, repaired, repainted, redecaled and working.
Approx 57 years old and looking brand new.


November 14, 2025 at 6:53 PM
Finished.
The 70000 Britannia is refurbished.
Cleaned, repaired, repainted, redecaled and working.
Approx 57 years old and looking brand new.
The 70000 Britannia is refurbished.
Cleaned, repaired, repainted, redecaled and working.
Approx 57 years old and looking brand new.
Same kit with a little extra detail


November 11, 2025 at 4:04 PM
Same kit with a little extra detail
Well first side done.
I think that worked.
Some of the gloss varnish got scrapped away when I removed the line below the number, but I think the satin varnish that I will be using tio finish will hide that.
I think that worked.
Some of the gloss varnish got scrapped away when I removed the line below the number, but I think the satin varnish that I will be using tio finish will hide that.

November 9, 2025 at 10:18 AM
Well first side done.
I think that worked.
Some of the gloss varnish got scrapped away when I removed the line below the number, but I think the satin varnish that I will be using tio finish will hide that.
I think that worked.
Some of the gloss varnish got scrapped away when I removed the line below the number, but I think the satin varnish that I will be using tio finish will hide that.
Learning Under Falling Skies.
It's sort of Galaxian meets Missile Comand meets Independence day.
The campaign looks interesting.
It's sort of Galaxian meets Missile Comand meets Independence day.
The campaign looks interesting.


November 8, 2025 at 9:22 PM
Learning Under Falling Skies.
It's sort of Galaxian meets Missile Comand meets Independence day.
The campaign looks interesting.
It's sort of Galaxian meets Missile Comand meets Independence day.
The campaign looks interesting.
Experimenting with the numbers.
So i have a 5 digit number lined up using the lines under the number decal for alignment.
When dry I applied water to the line with a brush, avoiding getting the numbers wet.
Then carefully scraped away the line with the back of a knife blade.
👍
So i have a 5 digit number lined up using the lines under the number decal for alignment.
When dry I applied water to the line with a brush, avoiding getting the numbers wet.
Then carefully scraped away the line with the back of a knife blade.
👍


November 6, 2025 at 4:23 PM
Experimenting with the numbers.
So i have a 5 digit number lined up using the lines under the number decal for alignment.
When dry I applied water to the line with a brush, avoiding getting the numbers wet.
Then carefully scraped away the line with the back of a knife blade.
👍
So i have a 5 digit number lined up using the lines under the number decal for alignment.
When dry I applied water to the line with a brush, avoiding getting the numbers wet.
Then carefully scraped away the line with the back of a knife blade.
👍
Solo game of Dungeon Quest.
I've got Under Falling Skies on order, so looking forward to that.
I've got Under Falling Skies on order, so looking forward to that.


November 5, 2025 at 7:25 PM
Solo game of Dungeon Quest.
I've got Under Falling Skies on order, so looking forward to that.
I've got Under Falling Skies on order, so looking forward to that.
Bought a little track and a cheap Hornby analogue controller to test the Britannia 70000.
And it's a runner!
Had to run it back and forth along the straight track a few times, but eventually it was happy.
I have a diesel loco as well which is younger, but that doesn't go (yet).
And it's a runner!
Had to run it back and forth along the straight track a few times, but eventually it was happy.
I have a diesel loco as well which is younger, but that doesn't go (yet).

November 5, 2025 at 7:17 PM
Bought a little track and a cheap Hornby analogue controller to test the Britannia 70000.
And it's a runner!
Had to run it back and forth along the straight track a few times, but eventually it was happy.
I have a diesel loco as well which is younger, but that doesn't go (yet).
And it's a runner!
Had to run it back and forth along the straight track a few times, but eventually it was happy.
I have a diesel loco as well which is younger, but that doesn't go (yet).
The tender is finished.
Decided to leave it clean and not do weathering.
Decided to leave it clean and not do weathering.


October 31, 2025 at 6:15 PM
The tender is finished.
Decided to leave it clean and not do weathering.
Decided to leave it clean and not do weathering.
Probably the hardest part.
I have to put 70000 as separate letters centred in the rectangle I only have 2 spare zeros if it doesn't go well.
Masking tape is a possibility to mark a straight line.
But will it pull the paint or decals away when removed?!
Any ideas?
I have to put 70000 as separate letters centred in the rectangle I only have 2 spare zeros if it doesn't go well.
Masking tape is a possibility to mark a straight line.
But will it pull the paint or decals away when removed?!
Any ideas?


October 31, 2025 at 3:22 PM
Probably the hardest part.
I have to put 70000 as separate letters centred in the rectangle I only have 2 spare zeros if it doesn't go well.
Masking tape is a possibility to mark a straight line.
But will it pull the paint or decals away when removed?!
Any ideas?
I have to put 70000 as separate letters centred in the rectangle I only have 2 spare zeros if it doesn't go well.
Masking tape is a possibility to mark a straight line.
But will it pull the paint or decals away when removed?!
Any ideas?
Just a few lines and suddenly it looks like a locomotive.

October 29, 2025 at 2:29 PM
Just a few lines and suddenly it looks like a locomotive.
First decal applied.
There are a lot of thin long decals, oh that is going to be fun (not).
There are a lot of thin long decals, oh that is going to be fun (not).

October 29, 2025 at 9:56 AM
First decal applied.
There are a lot of thin long decals, oh that is going to be fun (not).
There are a lot of thin long decals, oh that is going to be fun (not).
Thats the main colours done.
I also repaired the tender.
It's going to look like the current Britannia 70000 (It still exists in real life as a heritage steam locomotive) which is slightly different the 1960s model.
I also repaired the tender.
It's going to look like the current Britannia 70000 (It still exists in real life as a heritage steam locomotive) which is slightly different the 1960s model.

October 26, 2025 at 2:24 PM
Thats the main colours done.
I also repaired the tender.
It's going to look like the current Britannia 70000 (It still exists in real life as a heritage steam locomotive) which is slightly different the 1960s model.
I also repaired the tender.
It's going to look like the current Britannia 70000 (It still exists in real life as a heritage steam locomotive) which is slightly different the 1960s model.
Only just realised that two 'wind shields' or windows are broken off of the tender!
On the real thing I think this was to offer protection from wind and rain to the crew when they were reversing the train.
Not sure how practical it is to repair 🤔
On the real thing I think this was to offer protection from wind and rain to the crew when they were reversing the train.
Not sure how practical it is to repair 🤔

October 24, 2025 at 11:25 AM
Only just realised that two 'wind shields' or windows are broken off of the tender!
On the real thing I think this was to offer protection from wind and rain to the crew when they were reversing the train.
Not sure how practical it is to repair 🤔
On the real thing I think this was to offer protection from wind and rain to the crew when they were reversing the train.
Not sure how practical it is to repair 🤔
That's the BR Green done and I think the coal is perfect!
Next stage is to mask up ready for the black.
Next stage is to mask up ready for the black.

October 23, 2025 at 10:11 AM
That's the BR Green done and I think the coal is perfect!
Next stage is to mask up ready for the black.
Next stage is to mask up ready for the black.
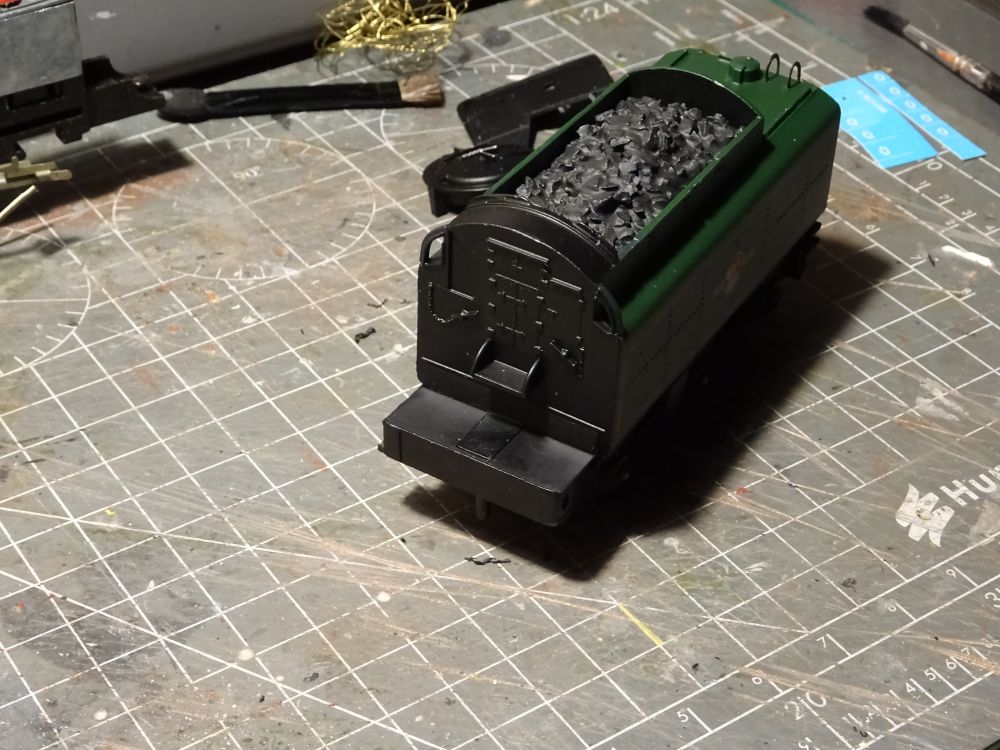
The tender coal insert is complete.
What I haven't decided yet is whether to weather (😆 ) the Britannia including this coal insert.
Originally the coal insert was just a piece of textured black plastic.
What I haven't decided yet is whether to weather (😆 ) the Britannia including this coal insert.
Originally the coal insert was just a piece of textured black plastic.

October 22, 2025 at 12:33 PM
The tender coal insert is complete.
What I haven't decided yet is whether to weather (😆 ) the Britannia including this coal insert.
Originally the coal insert was just a piece of textured black plastic.
What I haven't decided yet is whether to weather (😆 ) the Britannia including this coal insert.
Originally the coal insert was just a piece of textured black plastic.
Made the tender coal insert.
I used a two part Araldite type of adhesive to bond the 'ballast' pieces to the plastic sheet. Then brushed some slightly diluted PVA glue over the top. Just needs painting now.
Second coat of BR green applied. I'll do a third tomorrow.
I used a two part Araldite type of adhesive to bond the 'ballast' pieces to the plastic sheet. Then brushed some slightly diluted PVA glue over the top. Just needs painting now.
Second coat of BR green applied. I'll do a third tomorrow.


October 21, 2025 at 2:47 PM
Made the tender coal insert.
I used a two part Araldite type of adhesive to bond the 'ballast' pieces to the plastic sheet. Then brushed some slightly diluted PVA glue over the top. Just needs painting now.
Second coat of BR green applied. I'll do a third tomorrow.
I used a two part Araldite type of adhesive to bond the 'ballast' pieces to the plastic sheet. Then brushed some slightly diluted PVA glue over the top. Just needs painting now.
Second coat of BR green applied. I'll do a third tomorrow.
First coat of the BR green applied.
It takes a long time to be touch dry, about 3 hours, for some reason the black is quicker, about 1 hour.
Also working out how to make a coal insert for the tender.
I think a sheet of plastic with ballast rocks glued to it and painted black should work.
It takes a long time to be touch dry, about 3 hours, for some reason the black is quicker, about 1 hour.
Also working out how to make a coal insert for the tender.
I think a sheet of plastic with ballast rocks glued to it and painted black should work.

October 20, 2025 at 2:47 PM
First coat of the BR green applied.
It takes a long time to be touch dry, about 3 hours, for some reason the black is quicker, about 1 hour.
Also working out how to make a coal insert for the tender.
I think a sheet of plastic with ballast rocks glued to it and painted black should work.
It takes a long time to be touch dry, about 3 hours, for some reason the black is quicker, about 1 hour.
Also working out how to make a coal insert for the tender.
I think a sheet of plastic with ballast rocks glued to it and painted black should work.
Feckin sods laws!
Started applying the green BR paint and the spray can nozzle got clogged!
The nozzle is currently bathing in a bath of white spirit.
Hope I can clear it.
Started applying the green BR paint and the spray can nozzle got clogged!
The nozzle is currently bathing in a bath of white spirit.
Hope I can clear it.

October 19, 2025 at 10:23 AM
Feckin sods laws!
Started applying the green BR paint and the spray can nozzle got clogged!
The nozzle is currently bathing in a bath of white spirit.
Hope I can clear it.
Started applying the green BR paint and the spray can nozzle got clogged!
The nozzle is currently bathing in a bath of white spirit.
Hope I can clear it.
The Britannia and tender bodies are primed.
The smoke deflectors and smoke box door have been primed and painted black.
The smoke deflectors and smoke box door have been primed and painted black.

October 18, 2025 at 12:49 PM
The Britannia and tender bodies are primed.
The smoke deflectors and smoke box door have been primed and painted black.
The smoke deflectors and smoke box door have been primed and painted black.
Decided to remove all the black paint. Quite a job, but I think it is worth it.
I have masked the metal parts (not in this photo) ready to prime.
Along with the varnish I bought these replacement name and number plates.
Etched metal. Good quality.
I have masked the metal parts (not in this photo) ready to prime.
Along with the varnish I bought these replacement name and number plates.
Etched metal. Good quality.


October 17, 2025 at 1:17 PM
Decided to remove all the black paint. Quite a job, but I think it is worth it.
I have masked the metal parts (not in this photo) ready to prime.
Along with the varnish I bought these replacement name and number plates.
Etched metal. Good quality.
I have masked the metal parts (not in this photo) ready to prime.
Along with the varnish I bought these replacement name and number plates.
Etched metal. Good quality.
Trying a repair on the loco drivers cabin.
Then remembered I still need to do more cleaning on it, so it may not survive the cleaning process!!
But when I do it proper, it should work.
I will add a thin strip internally to give the joins more strength.
Then remembered I still need to do more cleaning on it, so it may not survive the cleaning process!!
But when I do it proper, it should work.
I will add a thin strip internally to give the joins more strength.

October 11, 2025 at 3:34 PM
Trying a repair on the loco drivers cabin.
Then remembered I still need to do more cleaning on it, so it may not survive the cleaning process!!
But when I do it proper, it should work.
I will add a thin strip internally to give the joins more strength.
Then remembered I still need to do more cleaning on it, so it may not survive the cleaning process!!
But when I do it proper, it should work.
I will add a thin strip internally to give the joins more strength.
So I tried the Tamiya gloss varnish (aerosol can) on the Railtech paint, seems OK.
Tried a Fox Transfer decal on that.
Very nice. Thin backing material and the backing film hugs the print.
Should look good when sprayed with another varnish coat.
Tried a Fox Transfer decal on that.
Very nice. Thin backing material and the backing film hugs the print.
Should look good when sprayed with another varnish coat.

October 11, 2025 at 3:29 PM
So I tried the Tamiya gloss varnish (aerosol can) on the Railtech paint, seems OK.
Tried a Fox Transfer decal on that.
Very nice. Thin backing material and the backing film hugs the print.
Should look good when sprayed with another varnish coat.
Tried a Fox Transfer decal on that.
Very nice. Thin backing material and the backing film hugs the print.
Should look good when sprayed with another varnish coat.
I was wondering how I would paint thevbody with the smoke deflectors in place on the side of the smoke box.
After a lot of puzzling as to how they were fitted, it turns out the boiler door at the front is just push on and the plates slide forward, although tabs keep them from easily sliding.
After a lot of puzzling as to how they were fitted, it turns out the boiler door at the front is just push on and the plates slide forward, although tabs keep them from easily sliding.

October 11, 2025 at 11:15 AM
I was wondering how I would paint thevbody with the smoke deflectors in place on the side of the smoke box.
After a lot of puzzling as to how they were fitted, it turns out the boiler door at the front is just push on and the plates slide forward, although tabs keep them from easily sliding.
After a lot of puzzling as to how they were fitted, it turns out the boiler door at the front is just push on and the plates slide forward, although tabs keep them from easily sliding.
I lost the tender coal years ago.
I'll need to make a replacement.
I'll need to make a replacement.

October 10, 2025 at 1:51 PM
I lost the tender coal years ago.
I'll need to make a replacement.
I'll need to make a replacement.