


Mock
@mock.bsky.social
🏳️🌈🇧🇷 He Him single
32 and mostly NSFW
Game dev (dogurai)
Programmer
Maker of Protogens~
Electronic hobbyst
shitposter on the free hours
32 and mostly NSFW
Game dev (dogurai)
Programmer
Maker of Protogens~
Electronic hobbyst
shitposter on the free hours
6/6
The benchy on the front was the first one with the old bearing.
The benchy on the back is the new one. Same gcode, same all!
It worked!!!
Now I have two working printers.
Might sell the old one and get another ace pro :3
The benchy on the front was the first one with the old bearing.
The benchy on the back is the new one. Same gcode, same all!
It worked!!!
Now I have two working printers.
Might sell the old one and get another ace pro :3


September 2, 2025 at 4:40 AM
6/6
The benchy on the front was the first one with the old bearing.
The benchy on the back is the new one. Same gcode, same all!
It worked!!!
Now I have two working printers.
Might sell the old one and get another ace pro :3
The benchy on the front was the first one with the old bearing.
The benchy on the back is the new one. Same gcode, same all!
It worked!!!
Now I have two working printers.
Might sell the old one and get another ace pro :3
5/6
Two bearings, because I couldn't find an 10x14x50, so I got two 10x14x25.
Upon removing them and adding the new ones. I could see that the old ones had chunks of graphite missing and apparently the shape of the brass was also damaged?
ANYWAYS. Printed assembled and test run!
Two bearings, because I couldn't find an 10x14x50, so I got two 10x14x25.
Upon removing them and adding the new ones. I could see that the old ones had chunks of graphite missing and apparently the shape of the brass was also damaged?
ANYWAYS. Printed assembled and test run!


September 2, 2025 at 4:40 AM
5/6
Two bearings, because I couldn't find an 10x14x50, so I got two 10x14x25.
Upon removing them and adding the new ones. I could see that the old ones had chunks of graphite missing and apparently the shape of the brass was also damaged?
ANYWAYS. Printed assembled and test run!
Two bearings, because I couldn't find an 10x14x50, so I got two 10x14x25.
Upon removing them and adding the new ones. I could see that the old ones had chunks of graphite missing and apparently the shape of the brass was also damaged?
ANYWAYS. Printed assembled and test run!
4/6 you need basically to remove 90% of the printer to get in the X axis out. But on a big brain move I realized I could just take a few parts on the front!
Removing the X axis from the plastic was really hard. There was an epóxi glue thing. Had to scrape all of it.
Needed to fit two beatings
Removing the X axis from the plastic was really hard. There was an epóxi glue thing. Had to scrape all of it.
Needed to fit two beatings


September 2, 2025 at 4:40 AM
4/6 you need basically to remove 90% of the printer to get in the X axis out. But on a big brain move I realized I could just take a few parts on the front!
Removing the X axis from the plastic was really hard. There was an epóxi glue thing. Had to scrape all of it.
Needed to fit two beatings
Removing the X axis from the plastic was really hard. There was an epóxi glue thing. Had to scrape all of it.
Needed to fit two beatings
3/6
Só with that in mind, and a whole day with nothing else to do and the parts in hand.
I started tearing apart. The bearings are in the X axis which you need to remove almost all parts to reach.
SO MANY SCREWS AND THINGS TO REMOVE.
By the official guide...
Só with that in mind, and a whole day with nothing else to do and the parts in hand.
I started tearing apart. The bearings are in the X axis which you need to remove almost all parts to reach.
SO MANY SCREWS AND THINGS TO REMOVE.
By the official guide...


September 2, 2025 at 4:40 AM
3/6
Só with that in mind, and a whole day with nothing else to do and the parts in hand.
I started tearing apart. The bearings are in the X axis which you need to remove almost all parts to reach.
SO MANY SCREWS AND THINGS TO REMOVE.
By the official guide...
Só with that in mind, and a whole day with nothing else to do and the parts in hand.
I started tearing apart. The bearings are in the X axis which you need to remove almost all parts to reach.
SO MANY SCREWS AND THINGS TO REMOVE.
By the official guide...
2/6
I decided it would be a waste to throw out this printer for a simple bearing that was hard to reach. I started digging on Aliexpress for a 10x14x50 graphite-brass bearing. Could only find 10x14x25, so I bought 5. That costed me 180 brl.
Since the printed is busted already, what could go wrong?
I decided it would be a waste to throw out this printer for a simple bearing that was hard to reach. I started digging on Aliexpress for a 10x14x50 graphite-brass bearing. Could only find 10x14x25, so I bought 5. That costed me 180 brl.
Since the printed is busted already, what could go wrong?


September 2, 2025 at 4:40 AM
2/6
I decided it would be a waste to throw out this printer for a simple bearing that was hard to reach. I started digging on Aliexpress for a 10x14x50 graphite-brass bearing. Could only find 10x14x25, so I bought 5. That costed me 180 brl.
Since the printed is busted already, what could go wrong?
I decided it would be a waste to throw out this printer for a simple bearing that was hard to reach. I started digging on Aliexpress for a 10x14x50 graphite-brass bearing. Could only find 10x14x25, so I bought 5. That costed me 180 brl.
Since the printed is busted already, what could go wrong?
My kobra s1 was misbehaving and having some issues. The bearing on the X axis was loose and the support (which was amazing btw), said it wasn't worth fixing (too complicated), and they sent me a new printer.
BUT.
1/6
BUT.
1/6

September 2, 2025 at 4:40 AM
My kobra s1 was misbehaving and having some issues. The bearing on the X axis was loose and the support (which was amazing btw), said it wasn't worth fixing (too complicated), and they sent me a new printer.
BUT.
1/6
BUT.
1/6
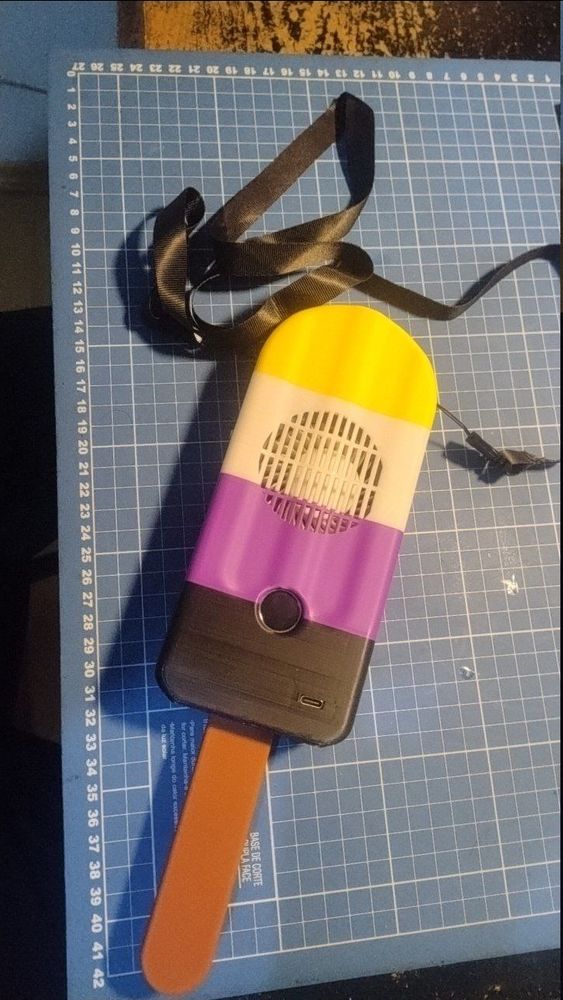
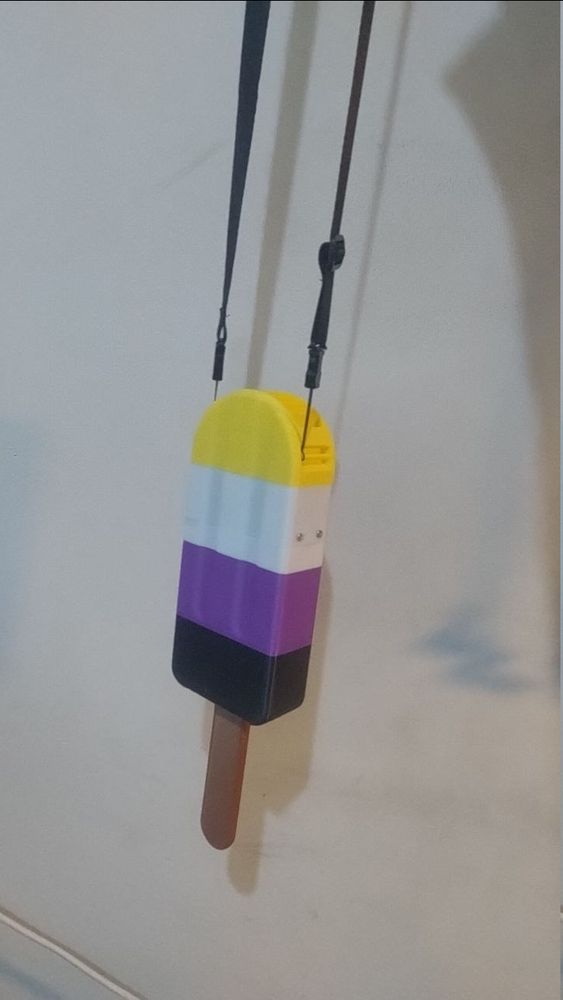
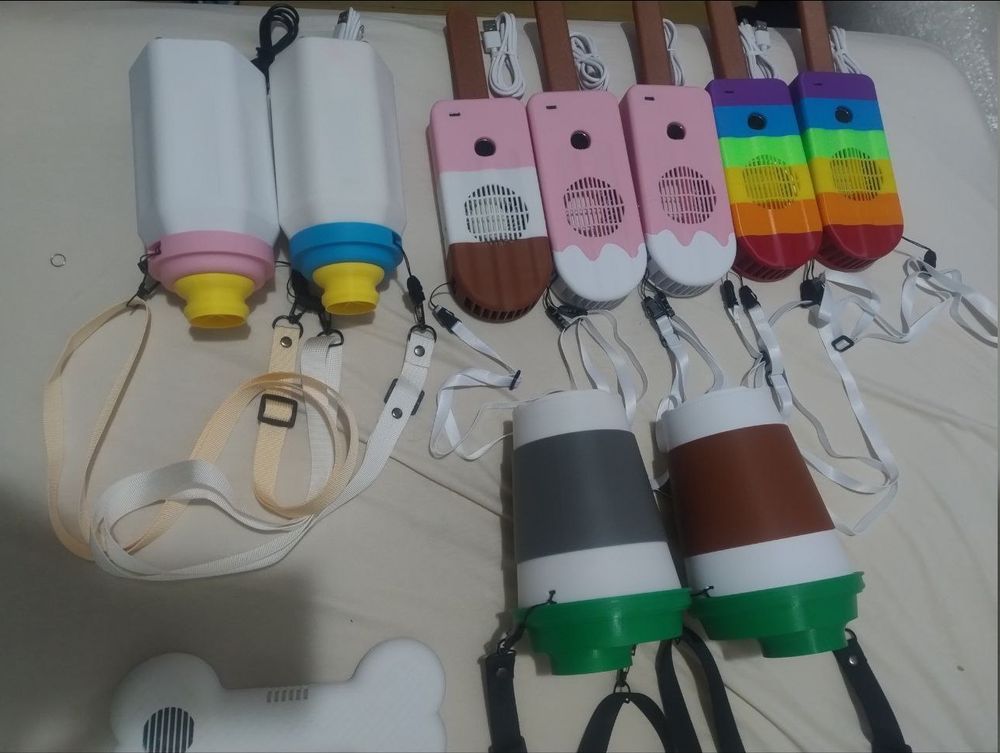
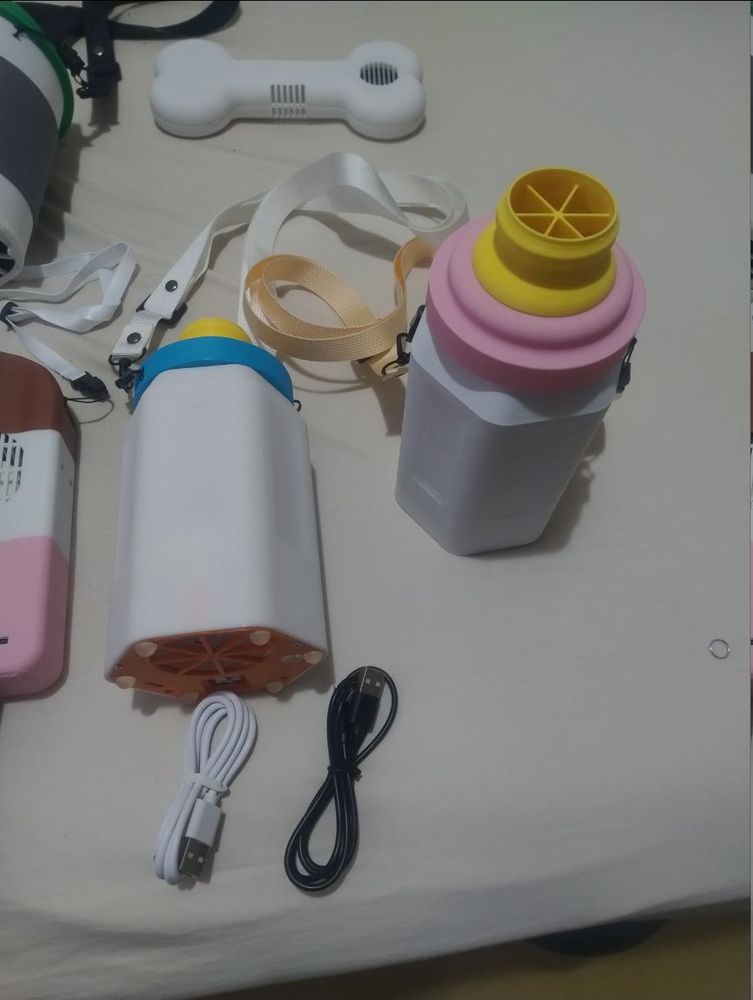
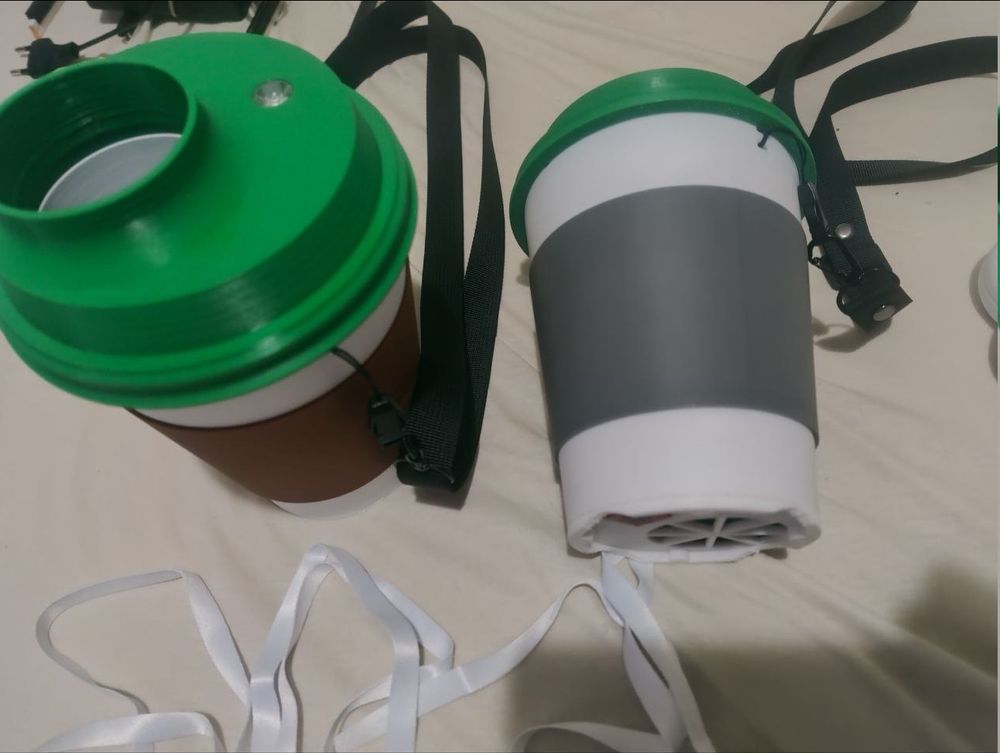
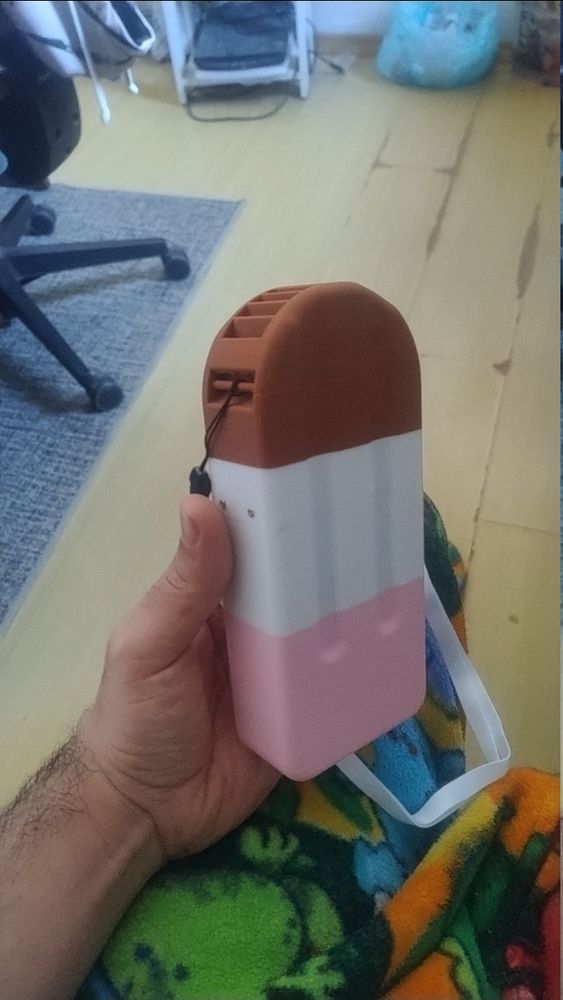
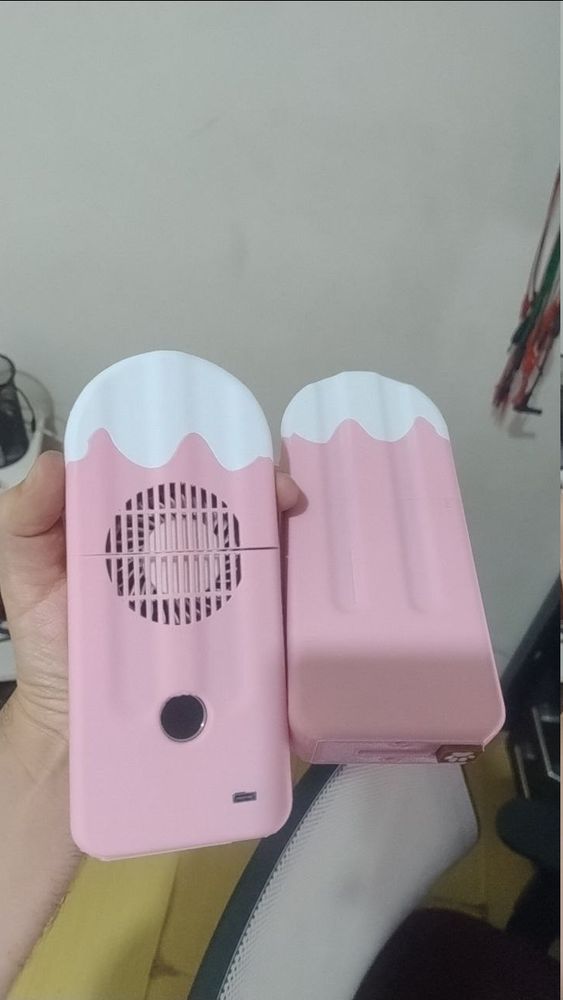
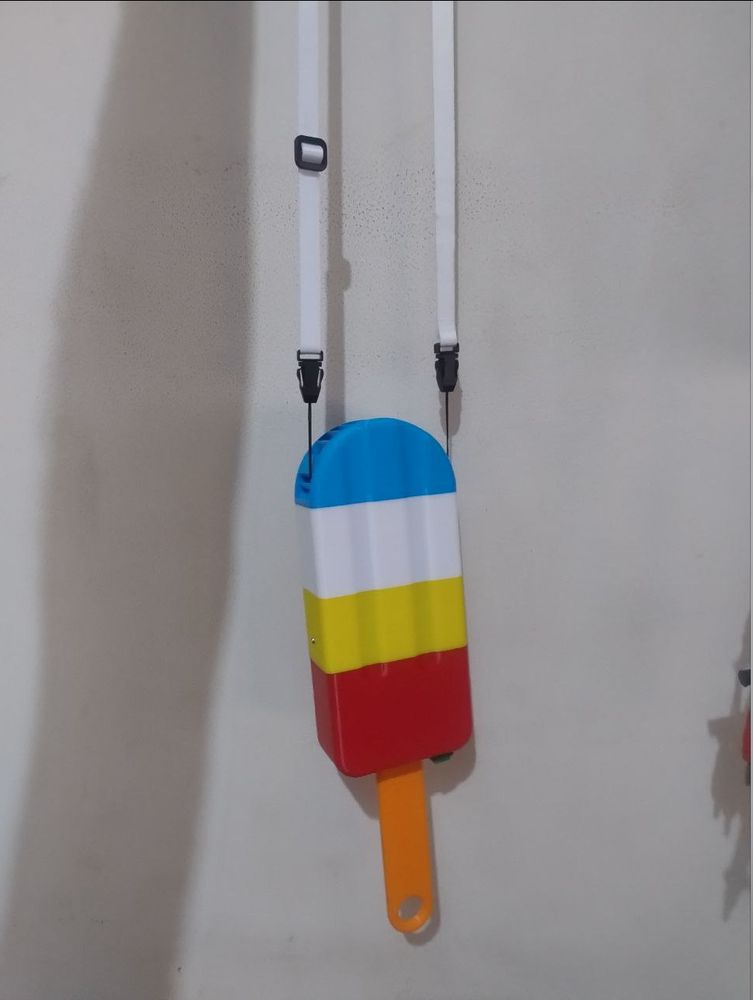
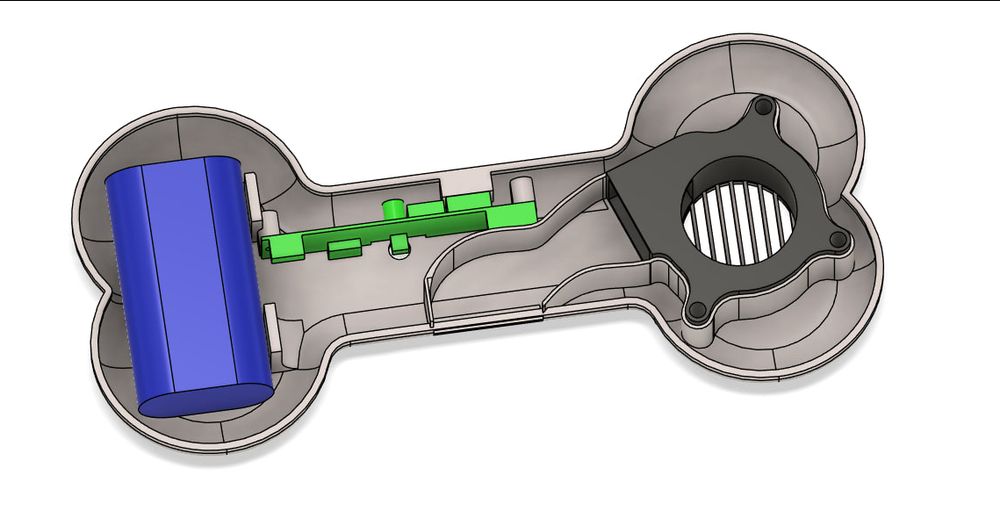
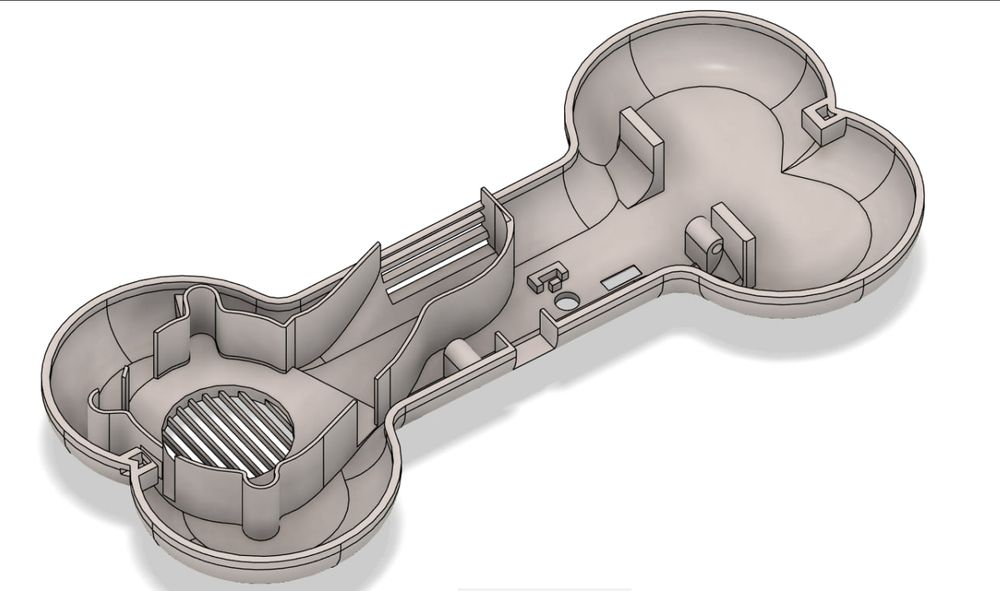
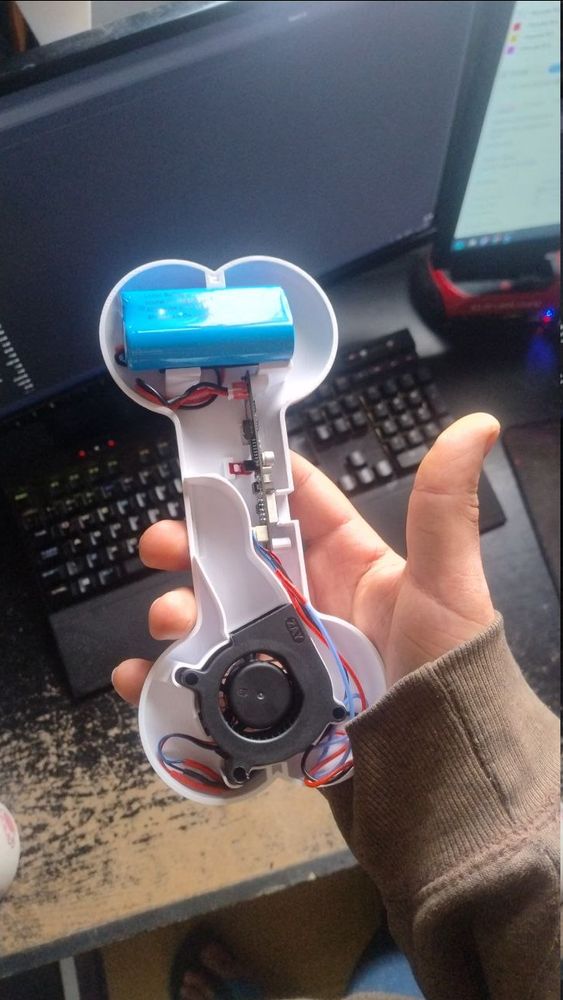
Ventilador para akya_argenti no telegram :3
August 4, 2025 at 11:03 PM
Ventilador para akya_argenti no telegram :3
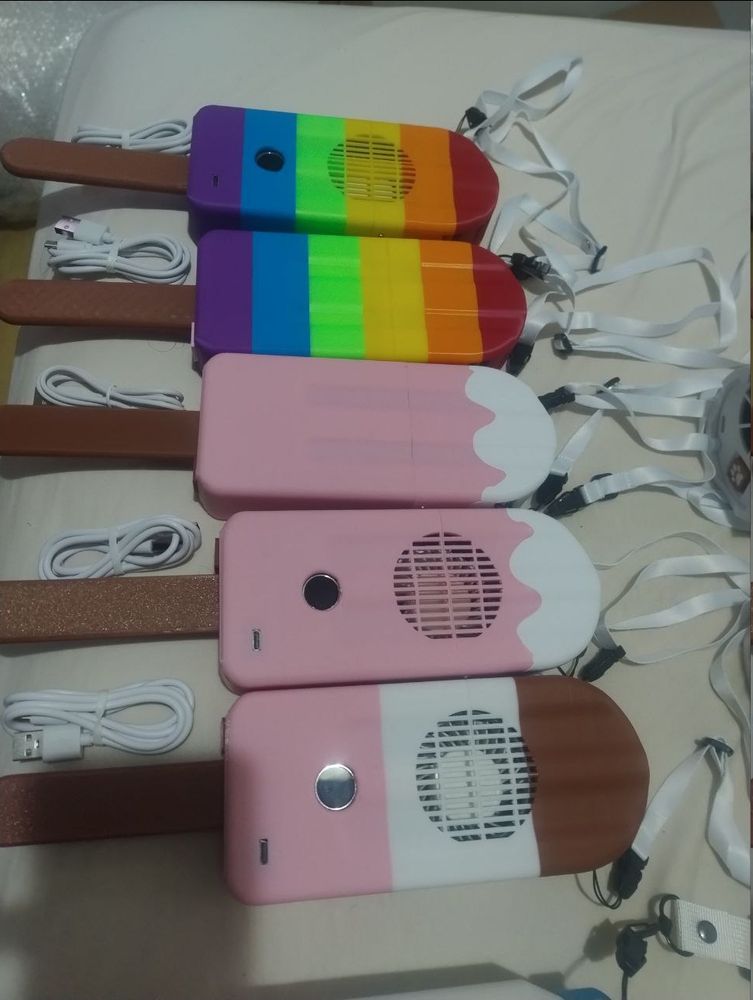

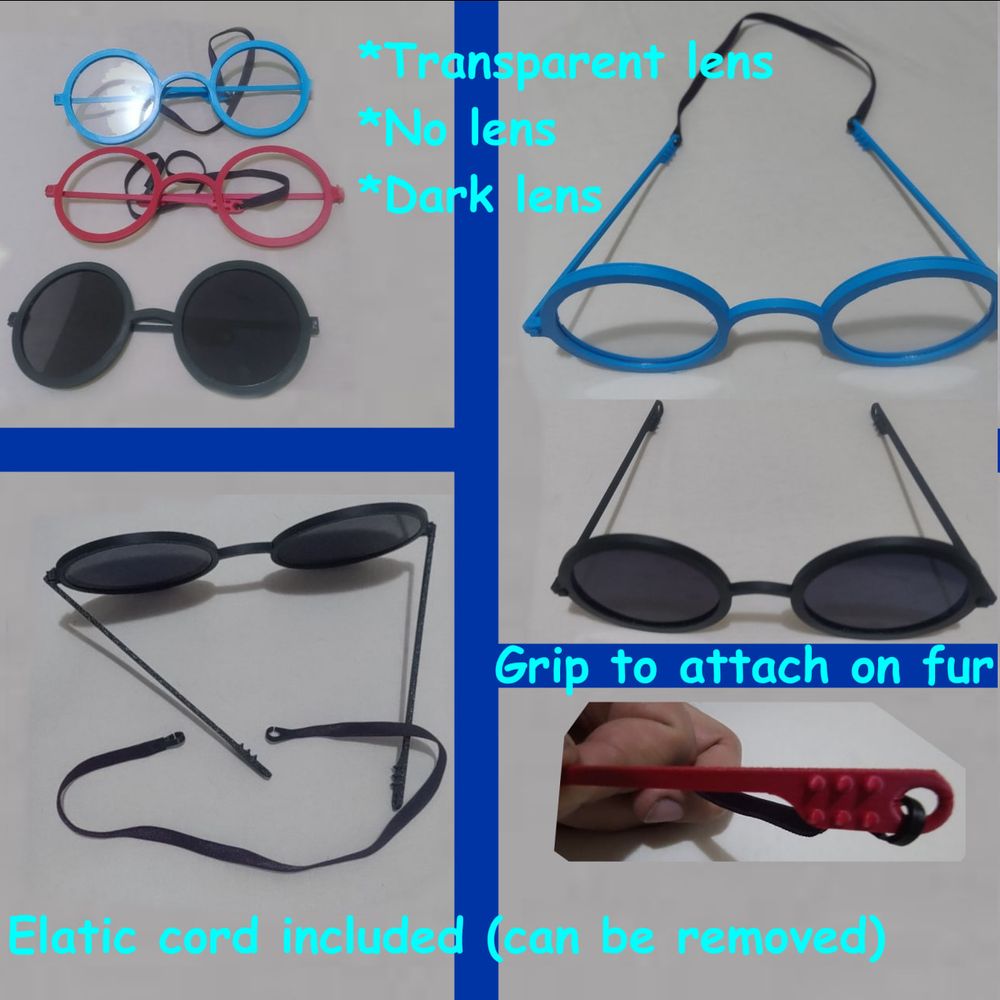
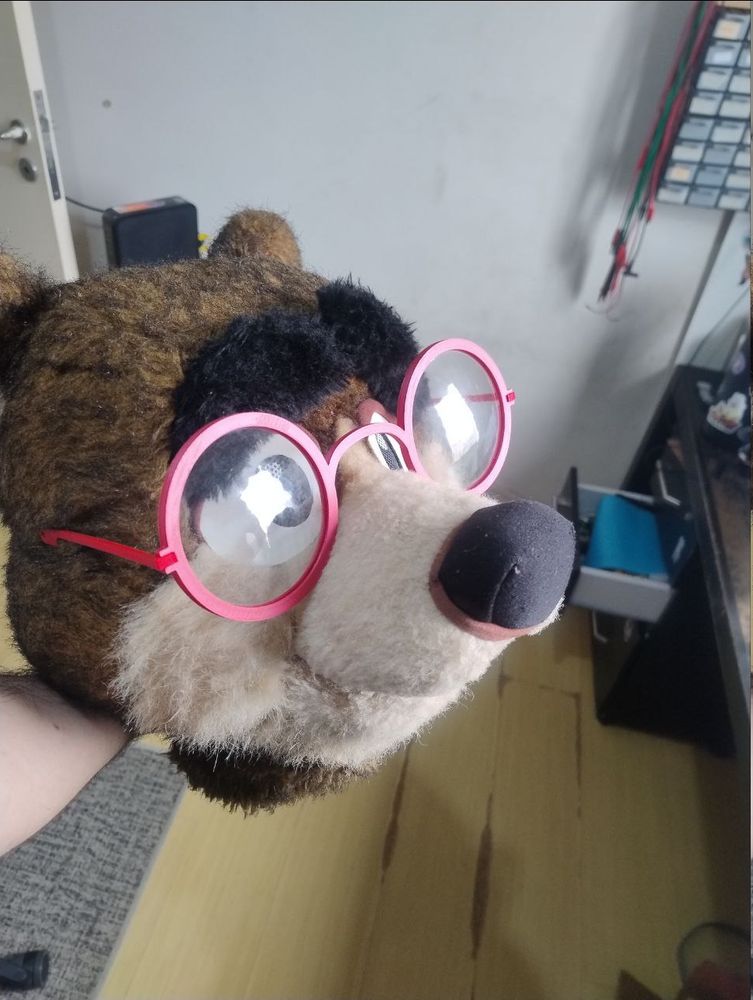
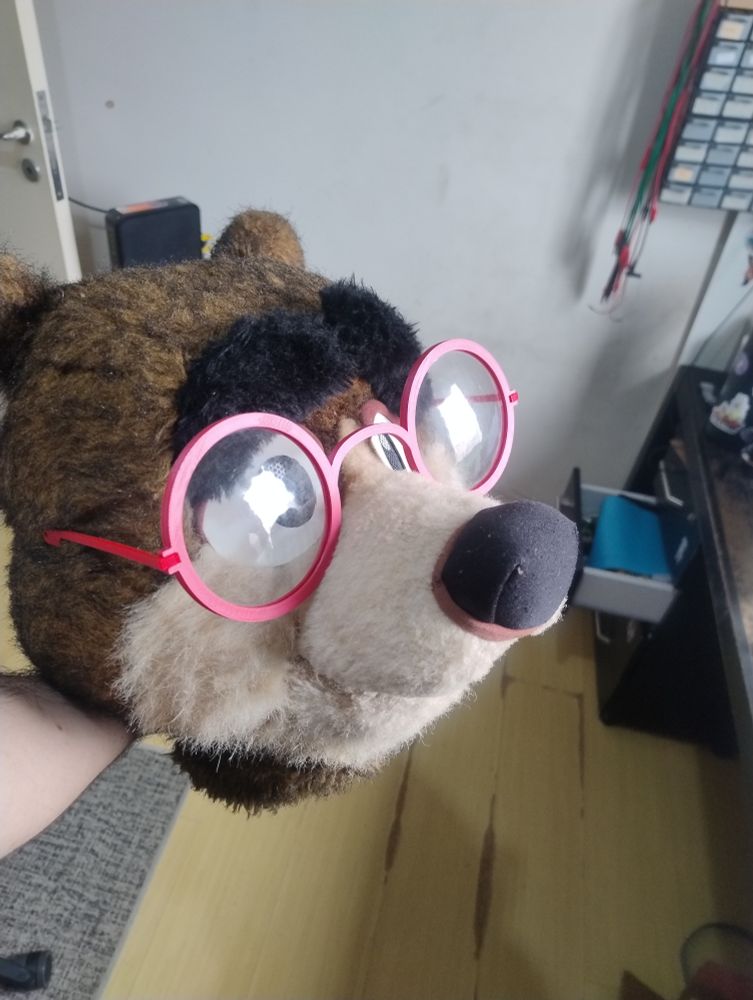
I made some fursuit glases :3
Will be selling them at a con next month owo
Will be selling them at a con next month owo

June 21, 2025 at 8:54 PM
I made some fursuit glases :3
Will be selling them at a con next month owo
Will be selling them at a con next month owo
Cigarette fursuit prop wip :3
(It's just water)
(It's just water)
May 21, 2025 at 6:55 PM
Cigarette fursuit prop wip :3
(It's just water)
(It's just water)
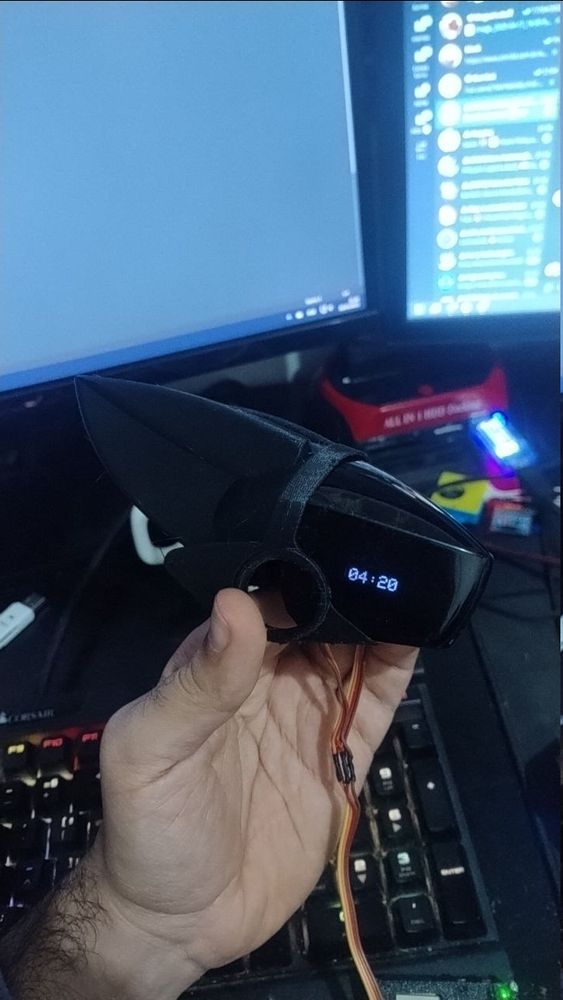
toma um video disso funfando :3
April 23, 2025 at 8:59 PM
toma um video disso funfando :3
🔹 Programação do protogen pode ser feita em Lua 👩💻
🔹 Todas as expressões faciais e animações ficam no cartão SD no formato .png
🔹 Detector de boop incluido
🔹 Porta USB-uart para reprogramar o firmware sem necessidade de debugger ou hardware adicional
🔹 Alimentação via power bank e USB-C
🔹 Todas as expressões faciais e animações ficam no cartão SD no formato .png
🔹 Detector de boop incluido
🔹 Porta USB-uart para reprogramar o firmware sem necessidade de debugger ou hardware adicional
🔹 Alimentação via power bank e USB-C

April 23, 2025 at 3:06 AM
🔹 Programação do protogen pode ser feita em Lua 👩💻
🔹 Todas as expressões faciais e animações ficam no cartão SD no formato .png
🔹 Detector de boop incluido
🔹 Porta USB-uart para reprogramar o firmware sem necessidade de debugger ou hardware adicional
🔹 Alimentação via power bank e USB-C
🔹 Todas as expressões faciais e animações ficam no cartão SD no formato .png
🔹 Detector de boop incluido
🔹 Porta USB-uart para reprogramar o firmware sem necessidade de debugger ou hardware adicional
🔹 Alimentação via power bank e USB-C
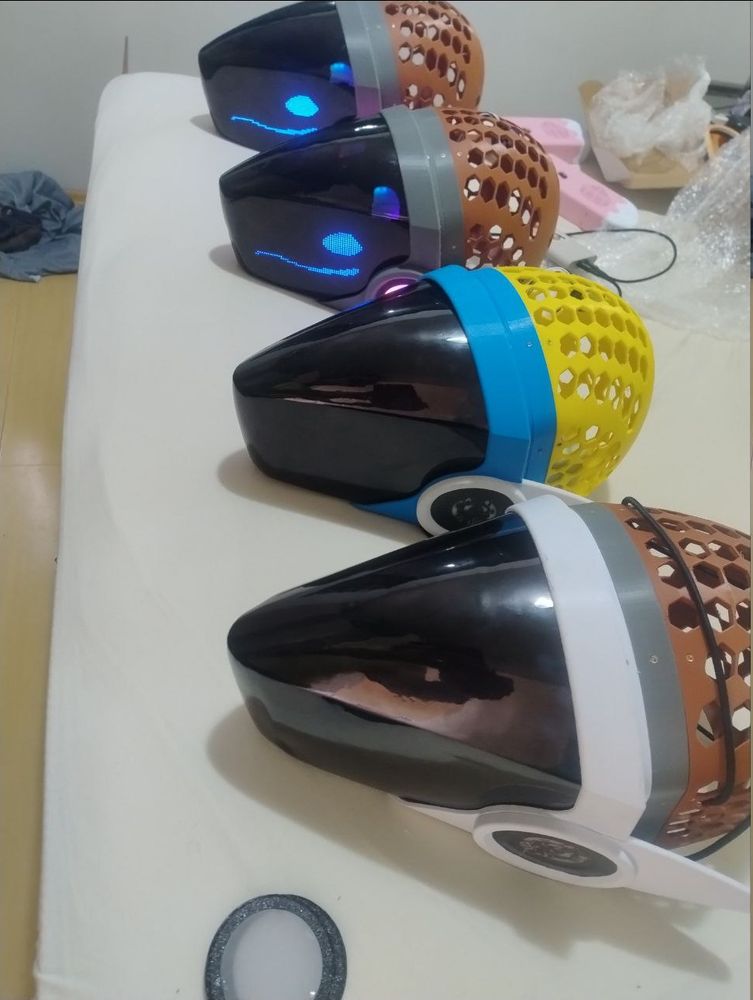
Features:
🔹 Sistema Protopanda open source github.com/mockthebear/...
🔹 2x Tela RGB de 16bit 63x32 pixels que chega a 50 fps 🔠🔠🔠
🔹 Tela interna para menus
🔹 Coolerinterno
🔹 Visor removivel e magnético
🔹 Controle remoto bluetooth para prender na pata da fursuit 🔗
🔹 Toda configuração fica no microSD
🔹 Sistema Protopanda open source github.com/mockthebear/...
🔹 2x Tela RGB de 16bit 63x32 pixels que chega a 50 fps 🔠🔠🔠
🔹 Tela interna para menus
🔹 Coolerinterno
🔹 Visor removivel e magnético
🔹 Controle remoto bluetooth para prender na pata da fursuit 🔗
🔹 Toda configuração fica no microSD

April 23, 2025 at 3:06 AM
Features:
🔹 Sistema Protopanda open source github.com/mockthebear/...
🔹 2x Tela RGB de 16bit 63x32 pixels que chega a 50 fps 🔠🔠🔠
🔹 Tela interna para menus
🔹 Coolerinterno
🔹 Visor removivel e magnético
🔹 Controle remoto bluetooth para prender na pata da fursuit 🔗
🔹 Toda configuração fica no microSD
🔹 Sistema Protopanda open source github.com/mockthebear/...
🔹 2x Tela RGB de 16bit 63x32 pixels que chega a 50 fps 🔠🔠🔠
🔹 Tela interna para menus
🔹 Coolerinterno
🔹 Visor removivel e magnético
🔹 Controle remoto bluetooth para prender na pata da fursuit 🔗
🔹 Toda configuração fica no microSD
Tem um cartão de memória no protogen onde você joga as expressões faciais como .PNG!
Se quiser ele também pode acessar o wifi 🔗 da sua casa para transferir arquivos via FTP.
Se quiser ele também pode acessar o wifi 🔗 da sua casa para transferir arquivos via FTP.

April 23, 2025 at 3:06 AM
Tem um cartão de memória no protogen onde você joga as expressões faciais como .PNG!
Se quiser ele também pode acessar o wifi 🔗 da sua casa para transferir arquivos via FTP.
Se quiser ele também pode acessar o wifi 🔗 da sua casa para transferir arquivos via FTP.
Não vem com:
❌Alimentação via USB-C porém não incluir power bank 🪫
❌Não contém patas ou partes em pelúcia.
Basa pegar o kit, dar o acabamento que você quiser nas partes impresas expostas, pintar, tacar a pelucia e fazer suas expressões faciais no paint.
❌Alimentação via USB-C porém não incluir power bank 🪫
❌Não contém patas ou partes em pelúcia.
Basa pegar o kit, dar o acabamento que você quiser nas partes impresas expostas, pintar, tacar a pelucia e fazer suas expressões faciais no paint.

April 23, 2025 at 3:06 AM
Não vem com:
❌Alimentação via USB-C porém não incluir power bank 🪫
❌Não contém patas ou partes em pelúcia.
Basa pegar o kit, dar o acabamento que você quiser nas partes impresas expostas, pintar, tacar a pelucia e fazer suas expressões faciais no paint.
❌Alimentação via USB-C porém não incluir power bank 🪫
❌Não contém patas ou partes em pelúcia.
Basa pegar o kit, dar o acabamento que você quiser nas partes impresas expostas, pintar, tacar a pelucia e fazer suas expressões faciais no paint.