


Kate Watson
@loreandordure.com
Smallholder, writer, erstwhile vetn'ry, PhD student, ADHD+, lexicographer & alleged Pratchett witch.
Letterpress, photography & digital/analogue miniatures.
Long Covid victim. She/they.
🖋️ https://loreandordure.com/
🖼️ https://ko-fi.com/loreandordure/shop/
Letterpress, photography & digital/analogue miniatures.
Long Covid victim. She/they.
🖋️ https://loreandordure.com/
🖼️ https://ko-fi.com/loreandordure/shop/
I try not to waste too many opportunities to make stock and this is definitely an opportunity to make stock.

November 13, 2025 at 7:01 PM
I try not to waste too many opportunities to make stock and this is definitely an opportunity to make stock.
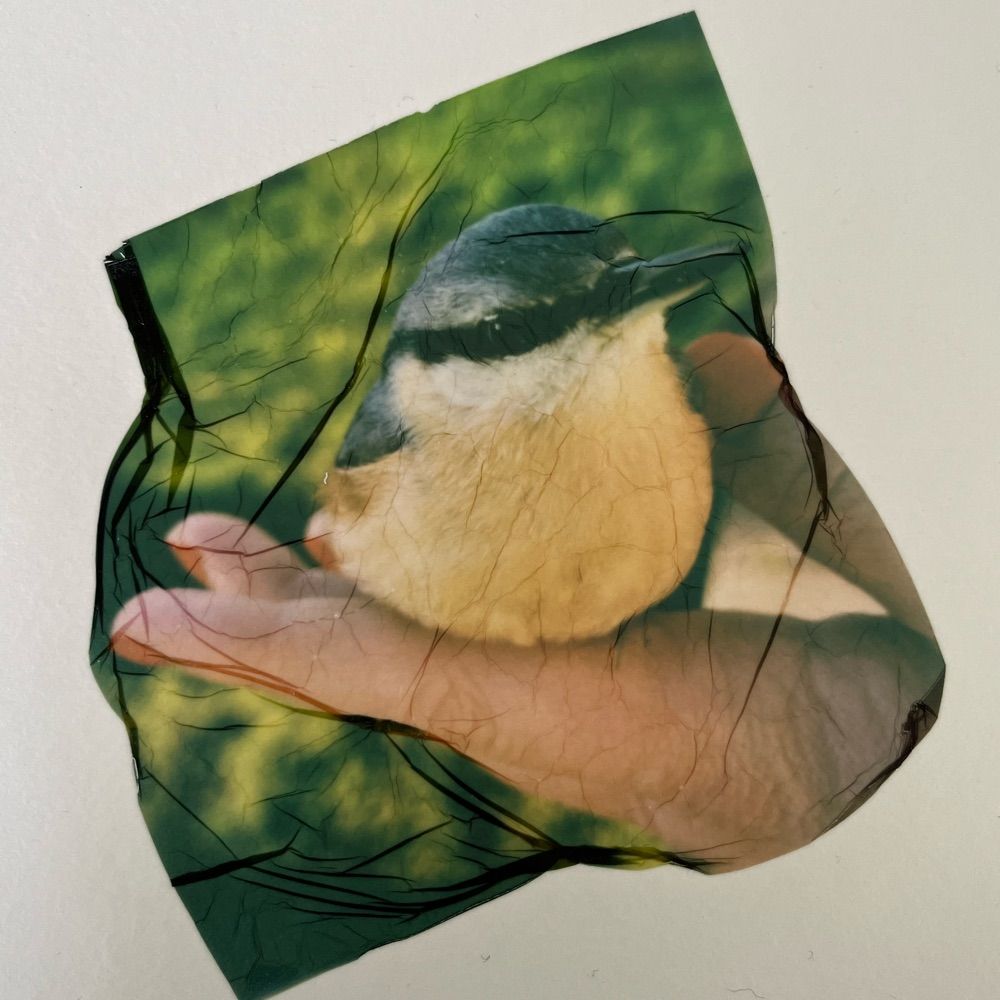
Considering none of you buggers know what I look like…

November 10, 2025 at 4:11 PM
Considering none of you buggers know what I look like…
Morning all!
Who wants breakfast?
Who wants breakfast?

November 9, 2025 at 10:41 AM
Morning all!
Who wants breakfast?
Who wants breakfast?
I may need to ask Santa for some new kitchen spoons and spatulas for Christmas…

November 8, 2025 at 5:36 PM
I may need to ask Santa for some new kitchen spoons and spatulas for Christmas…
New house friend! (Minor restoration required.)

November 8, 2025 at 5:07 PM
New house friend! (Minor restoration required.)
Time to say a regretful goodbye to this handbag, made from reclaimed rice sacks, which I have loved and used and loved and used some more but which has now tragically entered its ‘self-disassembly’ era.


November 8, 2025 at 12:16 PM
Time to say a regretful goodbye to this handbag, made from reclaimed rice sacks, which I have loved and used and loved and used some more but which has now tragically entered its ‘self-disassembly’ era.
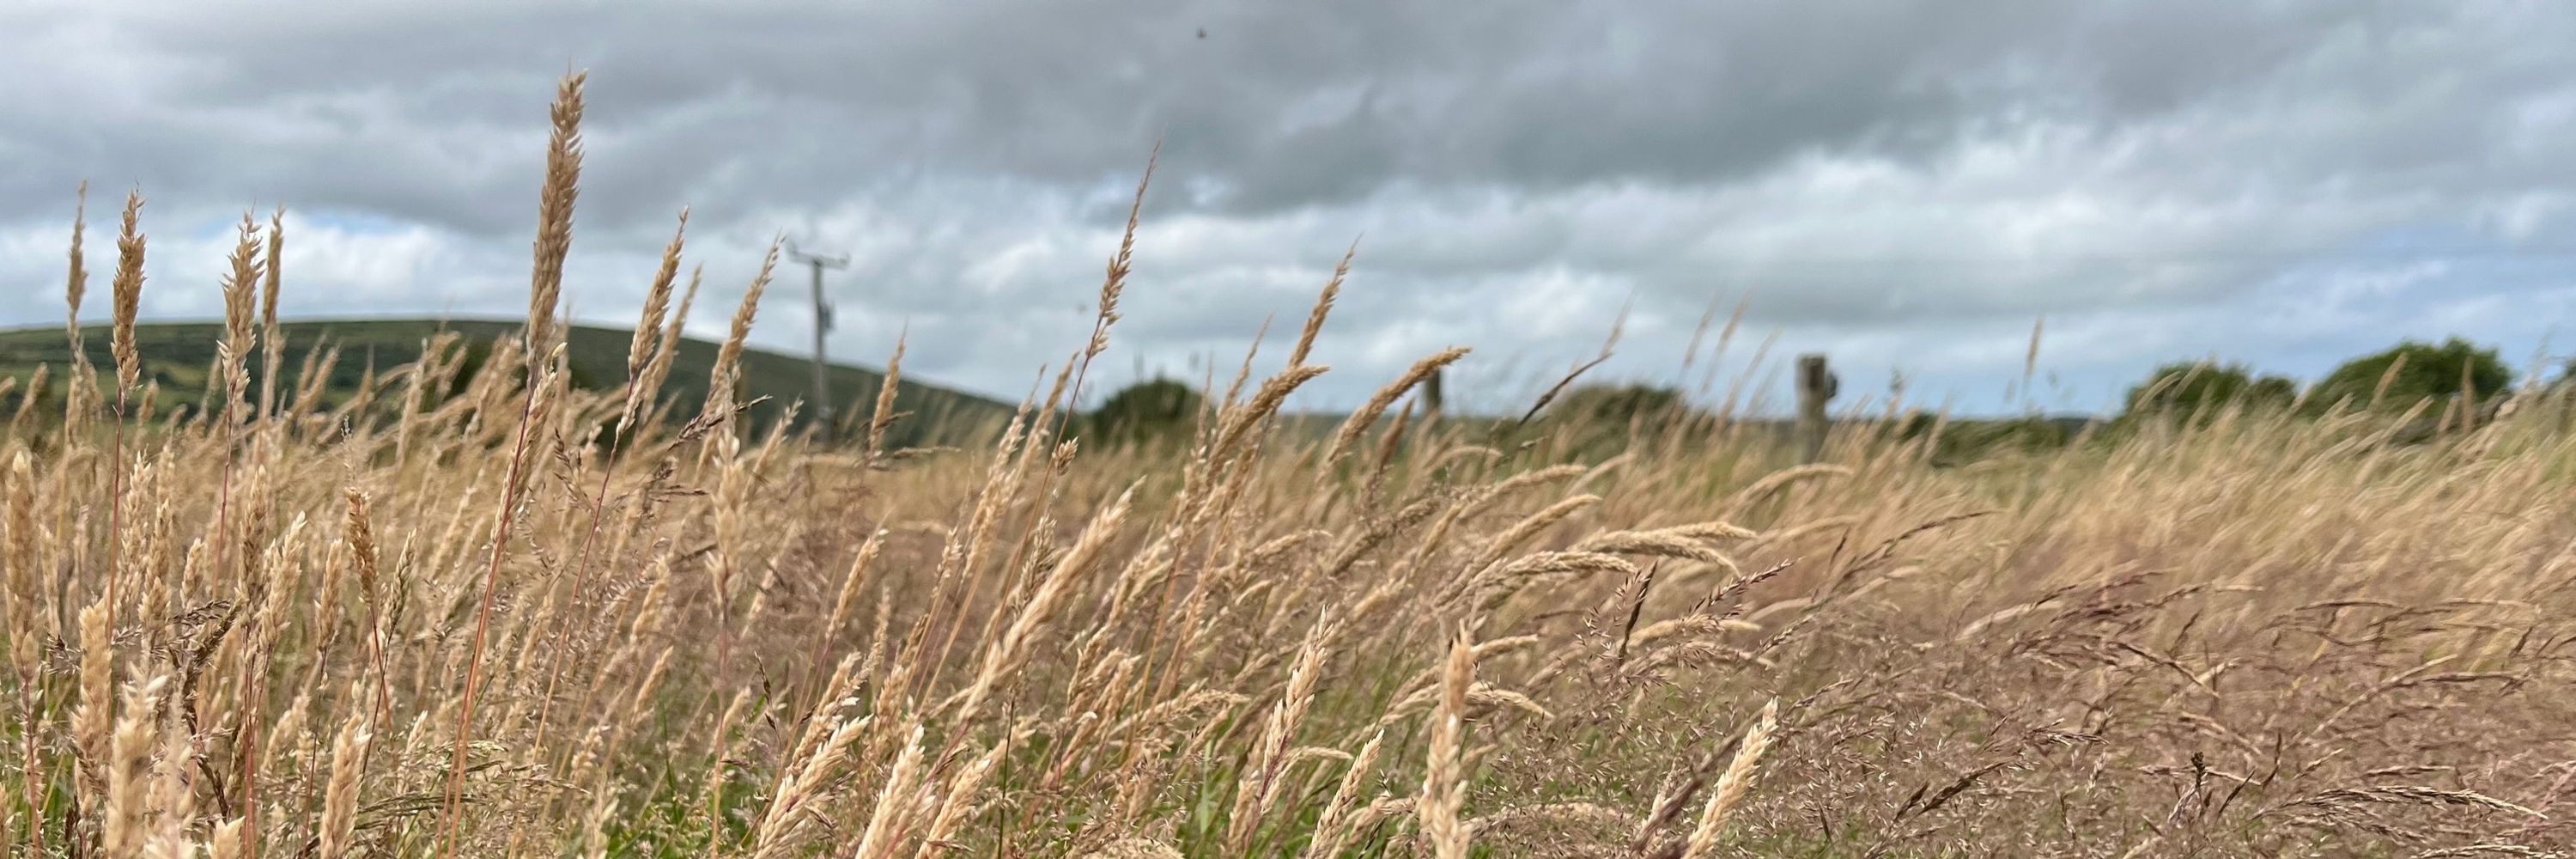
Gorgeous sunset tonight - a little timeline cleanse for us all:

November 6, 2025 at 4:56 PM
Gorgeous sunset tonight - a little timeline cleanse for us all:
Just snuck a quick peek before tucking it back to press and… yeah, it’s a book!


November 6, 2025 at 3:00 PM
Just snuck a quick peek before tucking it back to press and… yeah, it’s a book!
Close the back cover gently against the pasted endpaper making sure to keep the card covers as square as possible and not askew.
Smooth down the paper as before, swap the scrap paper for non-stick, and close the book securely.
Tuck it under a decent weight to dry.
Smooth down the paper as before, swap the scrap paper for non-stick, and close the book securely.
Tuck it under a decent weight to dry.

November 6, 2025 at 1:50 PM
Close the back cover gently against the pasted endpaper making sure to keep the card covers as square as possible and not askew.
Smooth down the paper as before, swap the scrap paper for non-stick, and close the book securely.
Tuck it under a decent weight to dry.
Smooth down the paper as before, swap the scrap paper for non-stick, and close the book securely.
Tuck it under a decent weight to dry.
Once it’s adhered, opening the cover as little as possible, smooth the endpaper down with fingertips to flatten any crinkles.
Replace the scrap paper with non-stick.
Then repeat the process with the back endpaper.
Replace the scrap paper with non-stick.
Then repeat the process with the back endpaper.


November 6, 2025 at 1:44 PM
Once it’s adhered, opening the cover as little as possible, smooth the endpaper down with fingertips to flatten any crinkles.
Replace the scrap paper with non-stick.
Then repeat the process with the back endpaper.
Replace the scrap paper with non-stick.
Then repeat the process with the back endpaper.
(I’m afraid there are no pictures of the critical bits, as I needed both hands for those!)
Pop a sheet of scrap paper between the front endpaper and the rest of the bundle and carefully cover the outside surface with glue (including over and under the strip of mull).
Pop a sheet of scrap paper between the front endpaper and the rest of the bundle and carefully cover the outside surface with glue (including over and under the strip of mull).

November 6, 2025 at 1:39 PM
(I’m afraid there are no pictures of the critical bits, as I needed both hands for those!)
Pop a sheet of scrap paper between the front endpaper and the rest of the bundle and carefully cover the outside surface with glue (including over and under the strip of mull).
Pop a sheet of scrap paper between the front endpaper and the rest of the bundle and carefully cover the outside surface with glue (including over and under the strip of mull).
So! Final steps!
Today I’m gluing the book bundle into the case.
Today I’m gluing the book bundle into the case.


November 6, 2025 at 1:31 PM
So! Final steps!
Today I’m gluing the book bundle into the case.
Today I’m gluing the book bundle into the case.
I am just about to go and make myself mightily unpopular in the village post office, I suspect…

November 5, 2025 at 9:55 AM
I am just about to go and make myself mightily unpopular in the village post office, I suspect…
Anyway I have a new jumper so this day rules?

November 5, 2025 at 9:40 AM
Anyway I have a new jumper so this day rules?
The case is basically done! Sandwich it between two sheets of scrap paper and weigh it down flat to dry. (If you’re at all worried any glue might leak, use nonstick kitchen parchment paper.)
Books are great weights!
Books are great weights!


November 4, 2025 at 5:14 PM
The case is basically done! Sandwich it between two sheets of scrap paper and weigh it down flat to dry. (If you’re at all worried any glue might leak, use nonstick kitchen parchment paper.)
Books are great weights!
Books are great weights!
Repeat the process on the other side.
November 4, 2025 at 5:11 PM
Repeat the process on the other side.
Then gently stick it onto the outside of the book board, as square as possible, just overlapping the cloth. Smooth it down with your hands, turn it over and trim the corners leaving a couple of mm spare. Then fold over and stick down first the top and bottom and then the long edge.


November 4, 2025 at 5:08 PM
Then gently stick it onto the outside of the book board, as square as possible, just overlapping the cloth. Smooth it down with your hands, turn it over and trim the corners leaving a couple of mm spare. Then fold over and stick down first the top and bottom and then the long edge.
For all of this glueing malarkey you’re going to save yourself a lot of trouble if you have a generous supply of scrap paper to put under things that you can just replace any time you get glue on it. I use the large sheets of newsprint that I use in the print shed. Paste up the back of the paper.

November 4, 2025 at 5:06 PM
For all of this glueing malarkey you’re going to save yourself a lot of trouble if you have a generous supply of scrap paper to put under things that you can just replace any time you get glue on it. I use the large sheets of newsprint that I use in the print shed. Paste up the back of the paper.
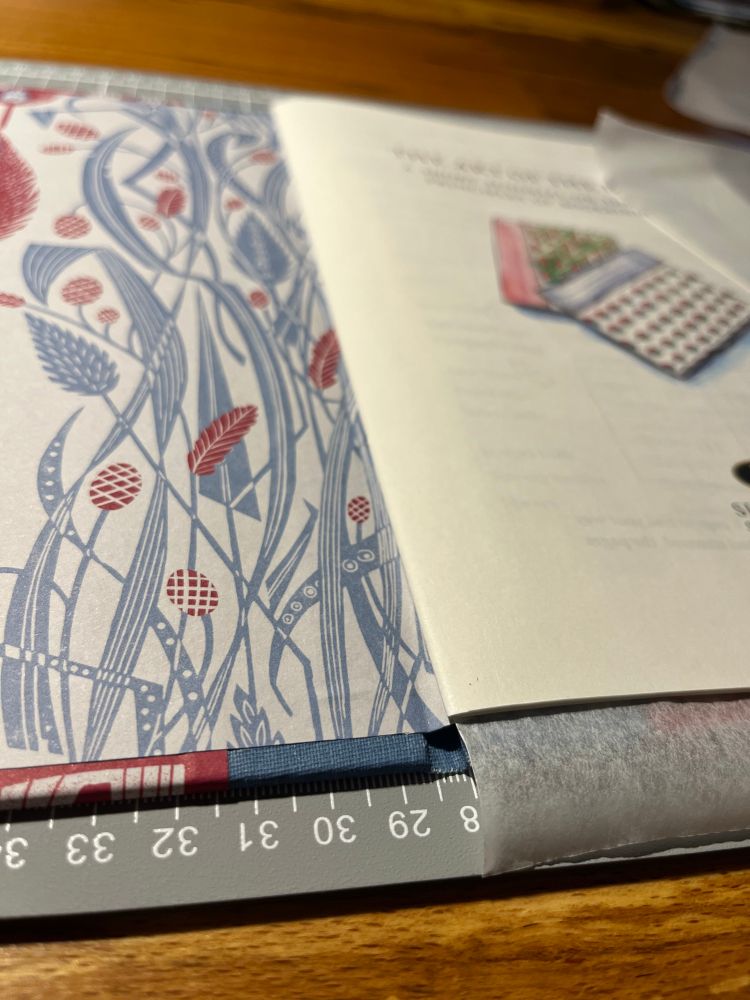
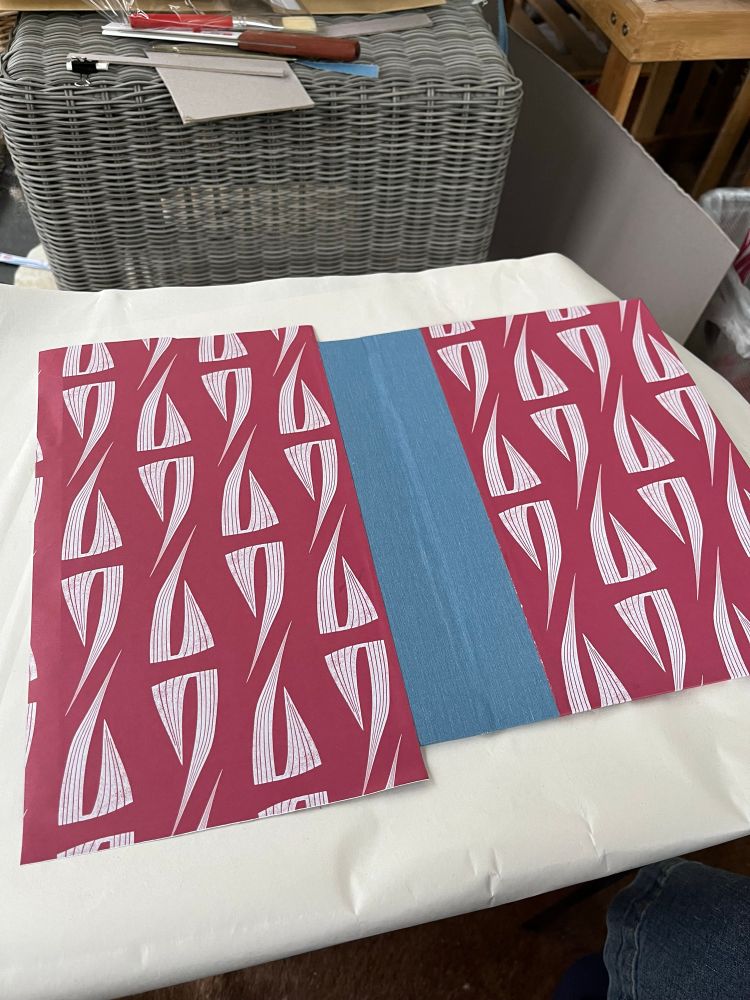
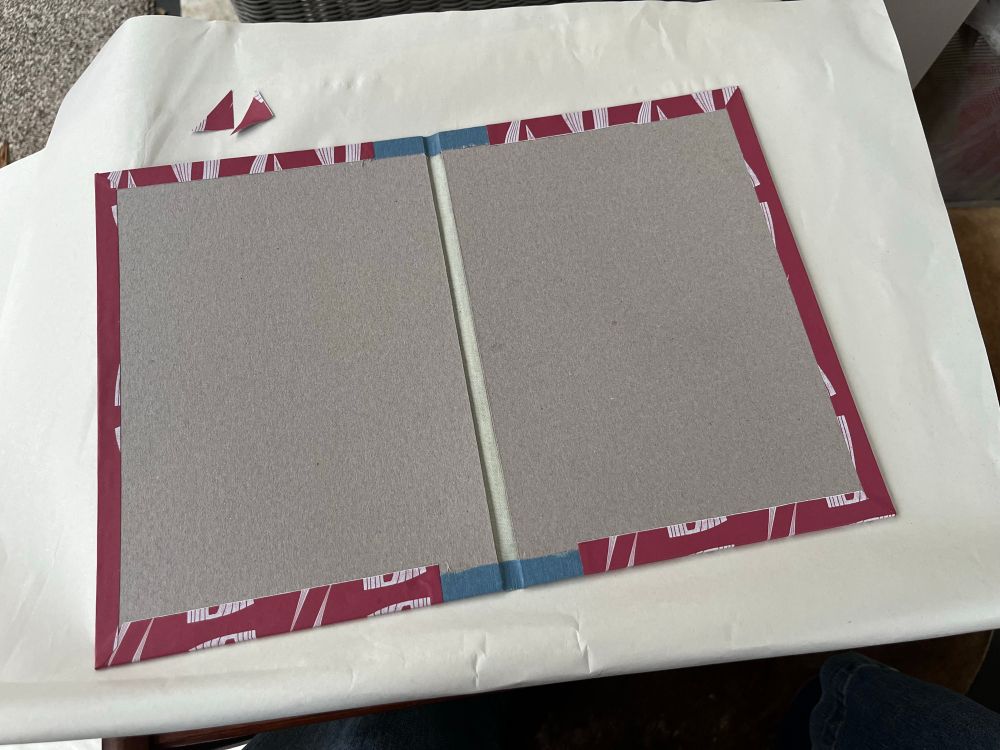
Papers front and back to cover the rest of the boards, giving 1.5cm overlap top bottom and front edge and overlapping the book cloth by a scanty couple of mm. For me that was 28x16cm. I tried to cut the paper so the design balanced front and back and didn’t cut somewhere that looked too clumsy!


November 4, 2025 at 5:03 PM
Papers front and back to cover the rest of the boards, giving 1.5cm overlap top bottom and front edge and overlapping the book cloth by a scanty couple of mm. For me that was 28x16cm. I tried to cut the paper so the design balanced front and back and didn’t cut somewhere that looked too clumsy!
You can see what this looks like from the outside.


November 4, 2025 at 3:27 PM
You can see what this looks like from the outside.
It was my first time using EVA glue and I didn’t have much of a sense of how much time or adjustment capacity I would have (very little, it turns out!) so there aren’t as many pictures of the next bit as I would like. I pasted each side of the cloth in turn, glued the card down & folded ends over.


November 4, 2025 at 3:25 PM
It was my first time using EVA glue and I didn’t have much of a sense of how much time or adjustment capacity I would have (very little, it turns out!) so there aren’t as many pictures of the next bit as I would like. I pasted each side of the cloth in turn, glued the card down & folded ends over.
Now cut a piece of book cloth wide enough to fit the spine and give 3cm on each board, and an extra 3cm in length. For me that was 7cm x 28cm, again observe the grain of the fabric as carefully as possible.
I marked up the back of the book cloth for position, though this wasn’t in the instructions.
I marked up the back of the book cloth for position, though this wasn’t in the instructions.


November 4, 2025 at 3:22 PM
Now cut a piece of book cloth wide enough to fit the spine and give 3cm on each board, and an extra 3cm in length. For me that was 7cm x 28cm, again observe the grain of the fabric as carefully as possible.
I marked up the back of the book cloth for position, though this wasn’t in the instructions.
I marked up the back of the book cloth for position, though this wasn’t in the instructions.
I measured this at 9mm. The instructions suggest cutting a template this width so I used some trimmed-off board.

November 4, 2025 at 3:16 PM
I measured this at 9mm. The instructions suggest cutting a template this width so I used some trimmed-off board.
Now, using a scrap of paper, sort of fold this over the spine and mark where it touches the boards on either side. This is to make sure you leave the right amount of slack in the spine of the cover. (Not illustrated - I only have two hands and no glamorous assistant!)

November 4, 2025 at 3:14 PM
Now, using a scrap of paper, sort of fold this over the spine and mark where it touches the boards on either side. This is to make sure you leave the right amount of slack in the spine of the cover. (Not illustrated - I only have two hands and no glamorous assistant!)
The cover card should be the same width as the book bundle and 1cm taller. When we position the card against the bundle, this leaves it overhanging the papers about 5mm on the top bottom and open edge, and the spine protrudes about the same distance.


November 4, 2025 at 3:12 PM
The cover card should be the same width as the book bundle and 1cm taller. When we position the card against the bundle, this leaves it overhanging the papers about 5mm on the top bottom and open edge, and the spine protrudes about the same distance.